You can create your own groups of members to which you can send emails. This is in addition to the predefined Membership Groups - players, officials, team contacts, etc.
1. From the association, club or team level of Membership, click on Communications in the menu.
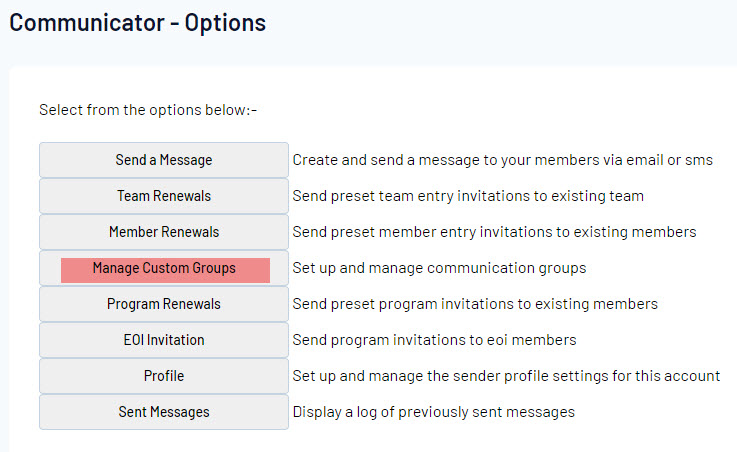
2. The Communicator options will open. Click on Manage Custom Groups.
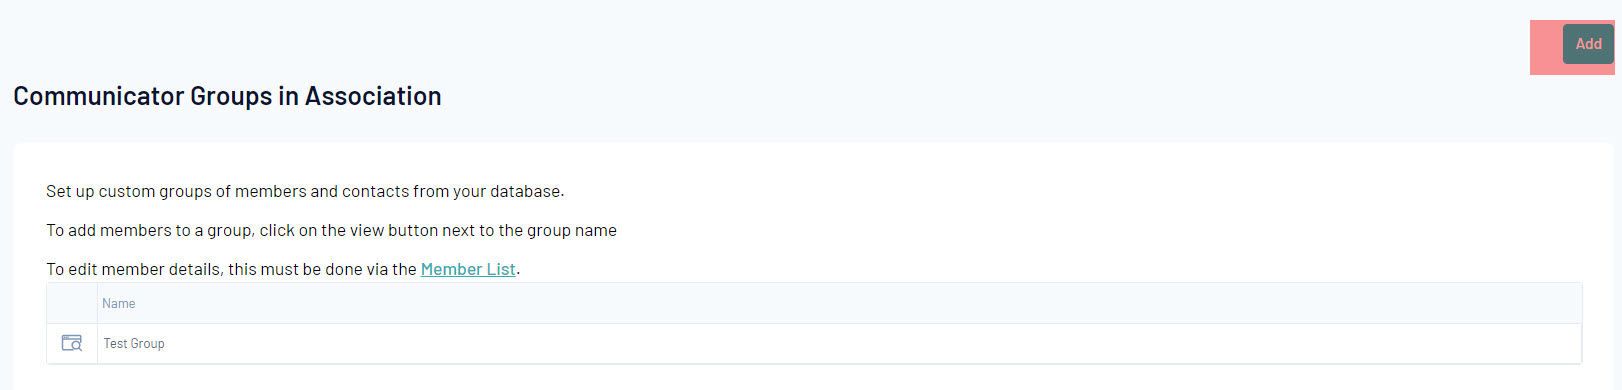
3. Any existing custom groups will appear. Click on Add Group in the top right corner.
4. Enter the group's name into the 'Group Name' field and click on Update Group.
5. You will be returned to the list of custom groups. The newly added custom group will appear in the list. To add members, click on the View icon next to the group name.
![]()
6. Any existing group members will appear. Click on Modify Members.
Other options on this page include 'Rename' group or 'Delete' group.
7. The 'Edit Group' page will appear. The list of 'Available Members' on the left is all members from your association/ club/ team. The 'Selected Members' list on the right is the list of members that have been added to the custom group.
To add members to the custom group, drag and drop the member's name from the 'Available Members' list,into the 'Selected Members' list.

8. Members can be removed from the custom group by dragging and dropping their name in the 'Selected Members' list into the 'Available Members' list.
9. When you have finished selecting members for the custom group, click on Update.
10. A message will appear confirming that the group has been successfully updated.
