The Widget Manager section is used to activate and modify your widgets. A widget is an application, or a component of an interface, that enables a user to perform a function or access a service.
To access the Widget Manager:
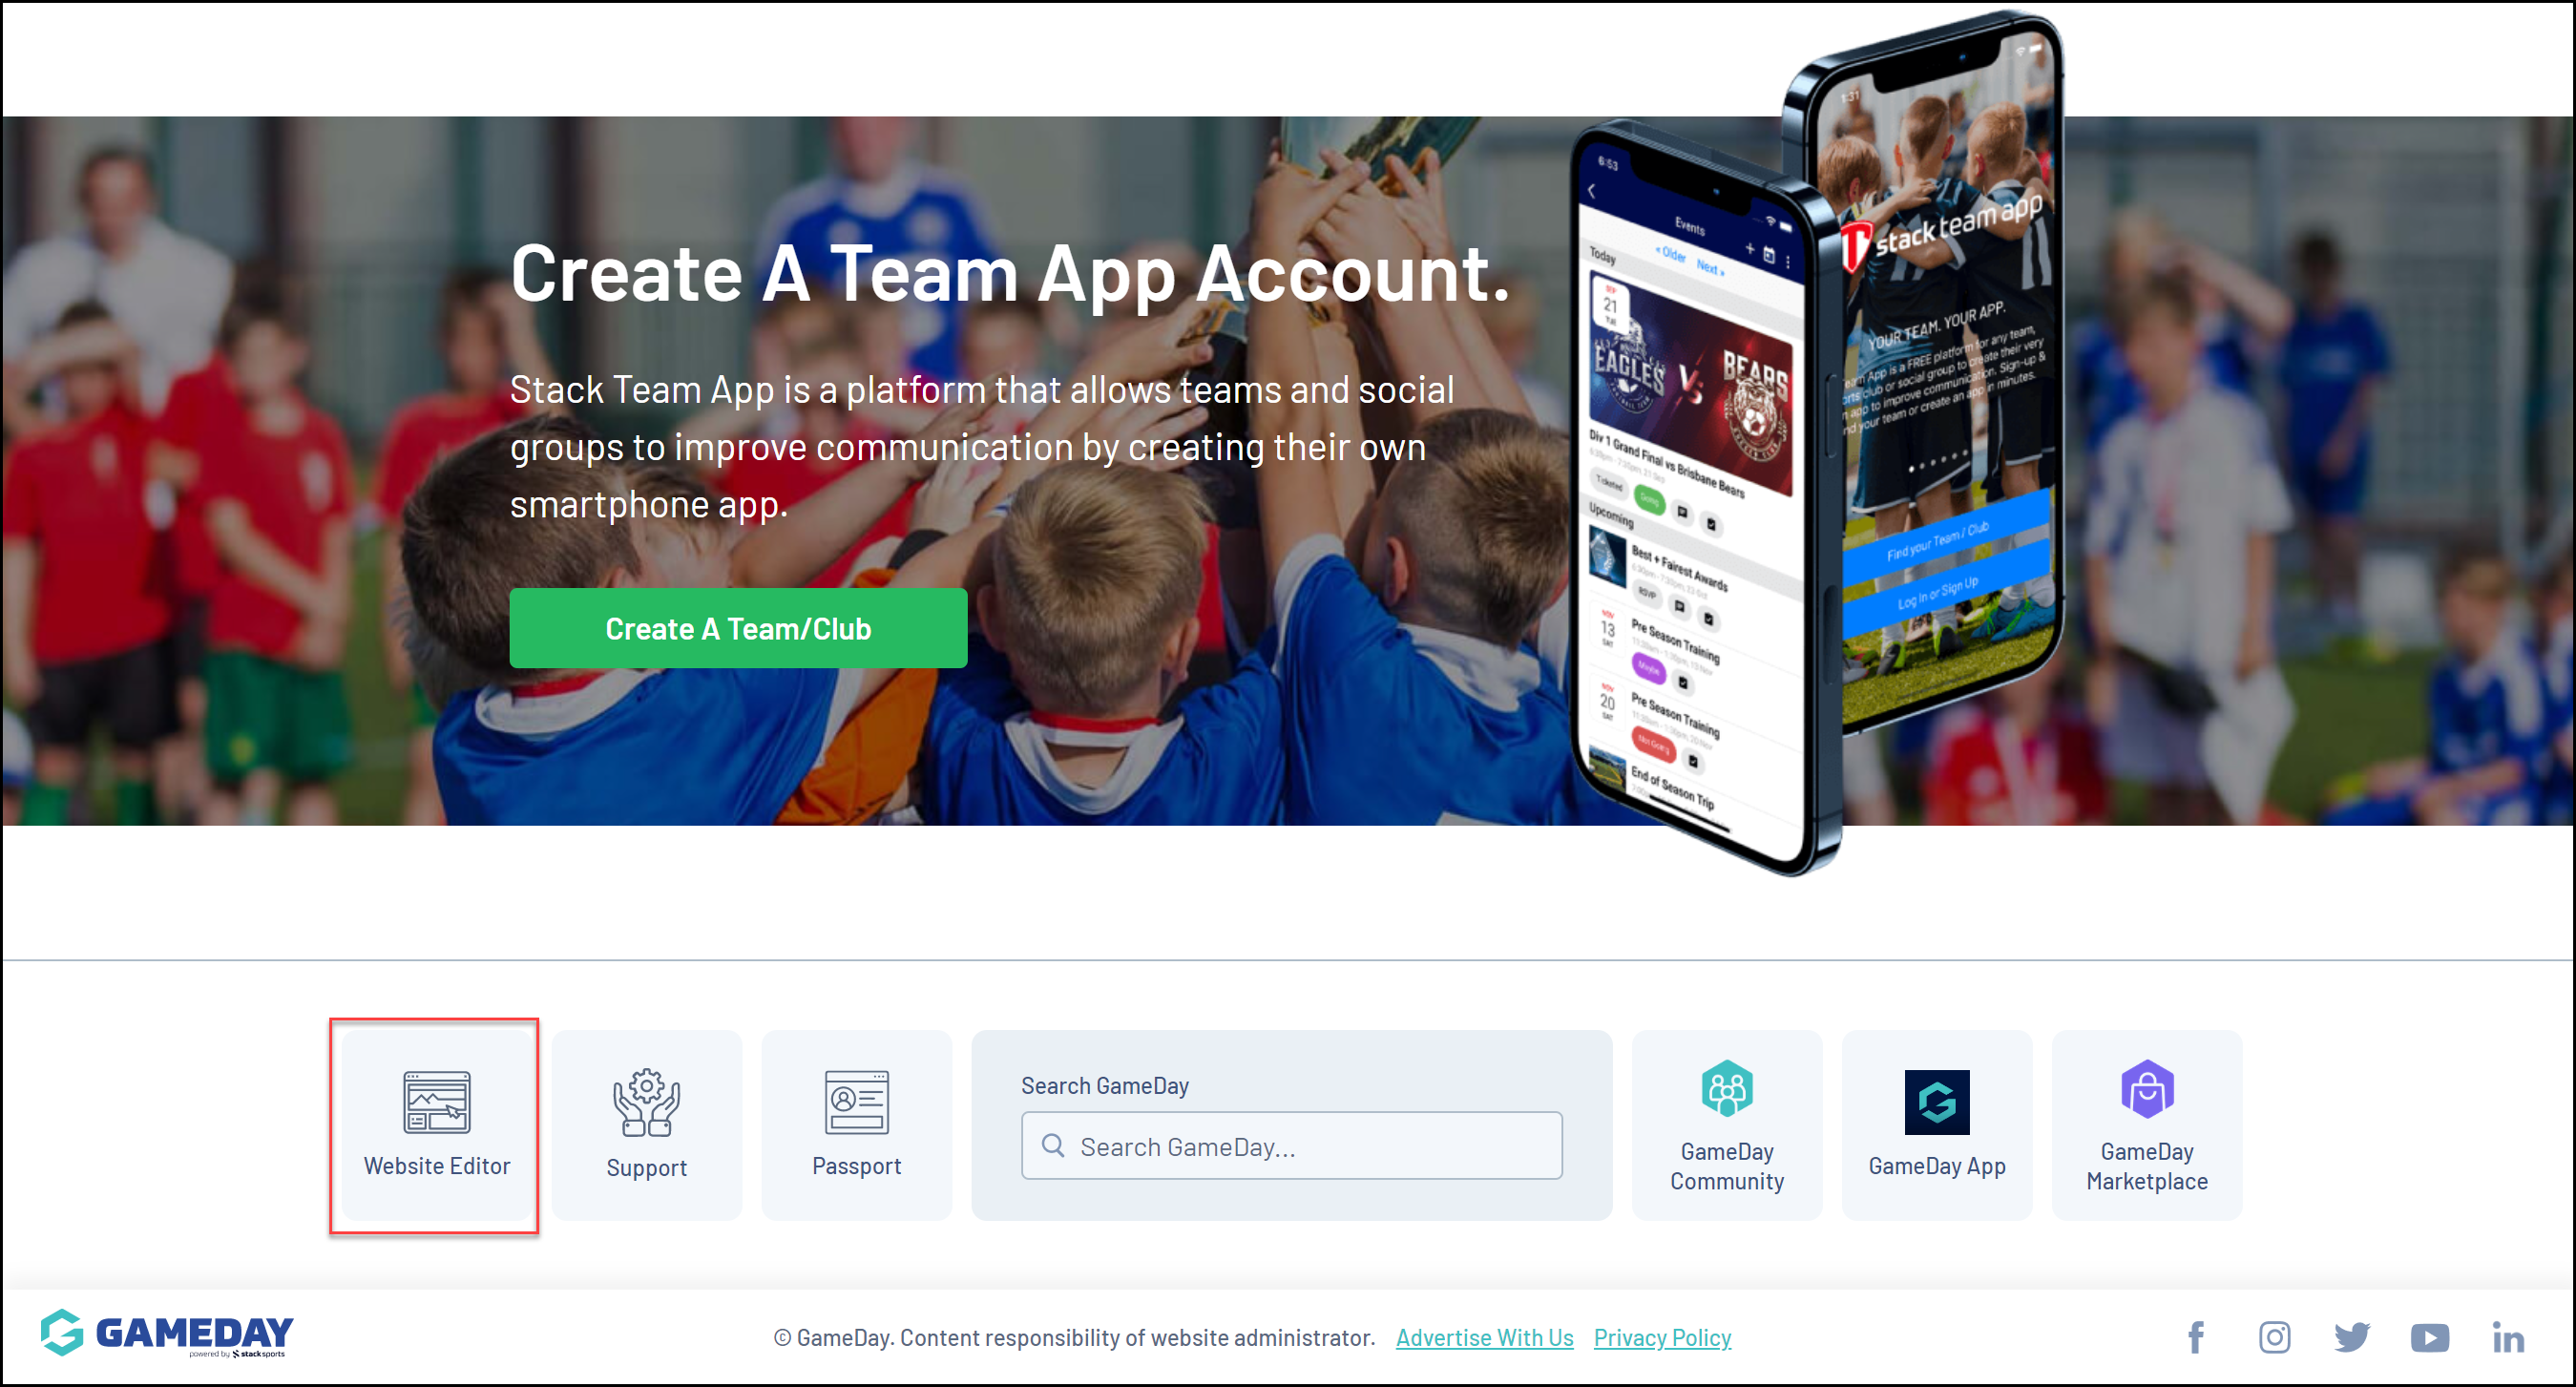
1. Scroll to the bottom of your website and click WEBSITE EDITOR
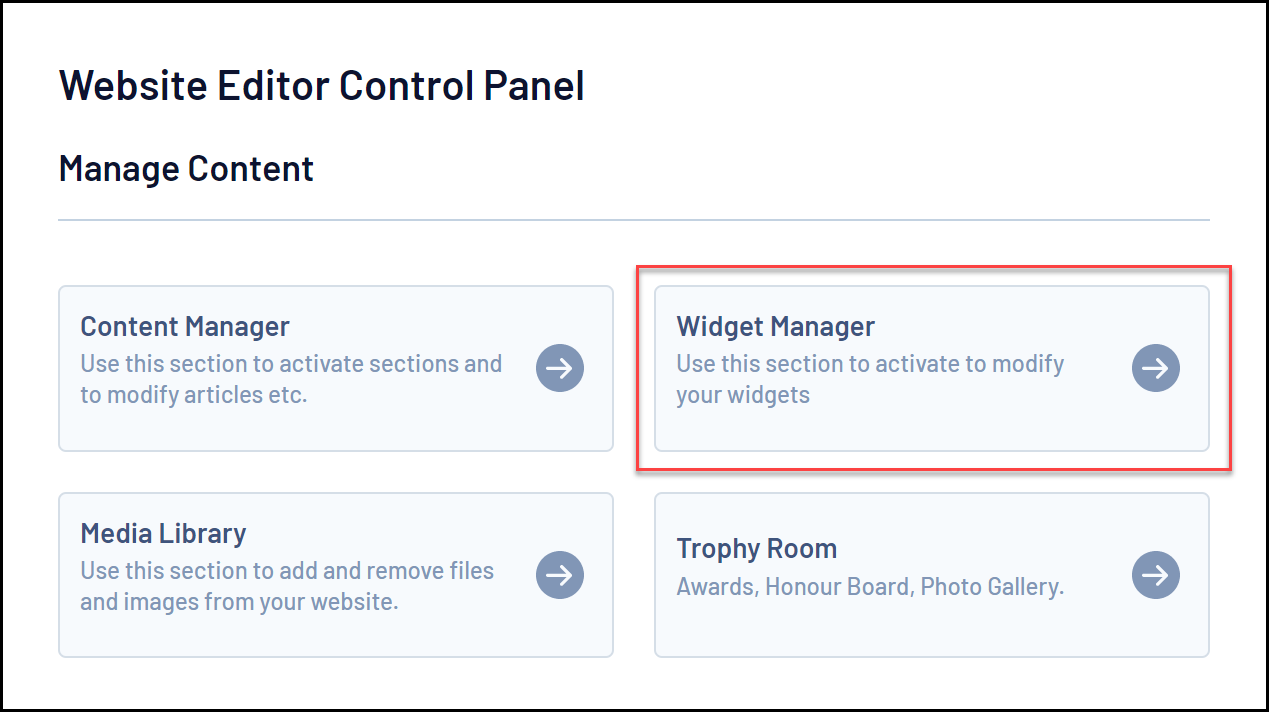
2. In the Manage Content section, click WIDGET MANAGER
NOTE: Once you have added/edited all relevant widgets make sure you right-click each widget and tick the ACTIVE checkbox to make sure they appear on your website.
If you aren't able to access the website editor function for your Club website (either the previous editor is no longer at the Club, or the site hasn't had an editor before), then please click here. Alternatively , if your website already has a website editor, this person can authorise you as an additional website editor themselves. If you are a club, you must contact your Association for access.
Below are detailed examples of how to edit content within Widget Manager:
Firstly, scroll down to the bottom of your website and click 'Site Editor'. You will then be shown the Website Editor Control Panel.
Remote Content
This function displays news content from an external website in the right hand column of your website. There are a wide range of remote news sources to choose from.
To add a Remote Content news feed widget to your website:
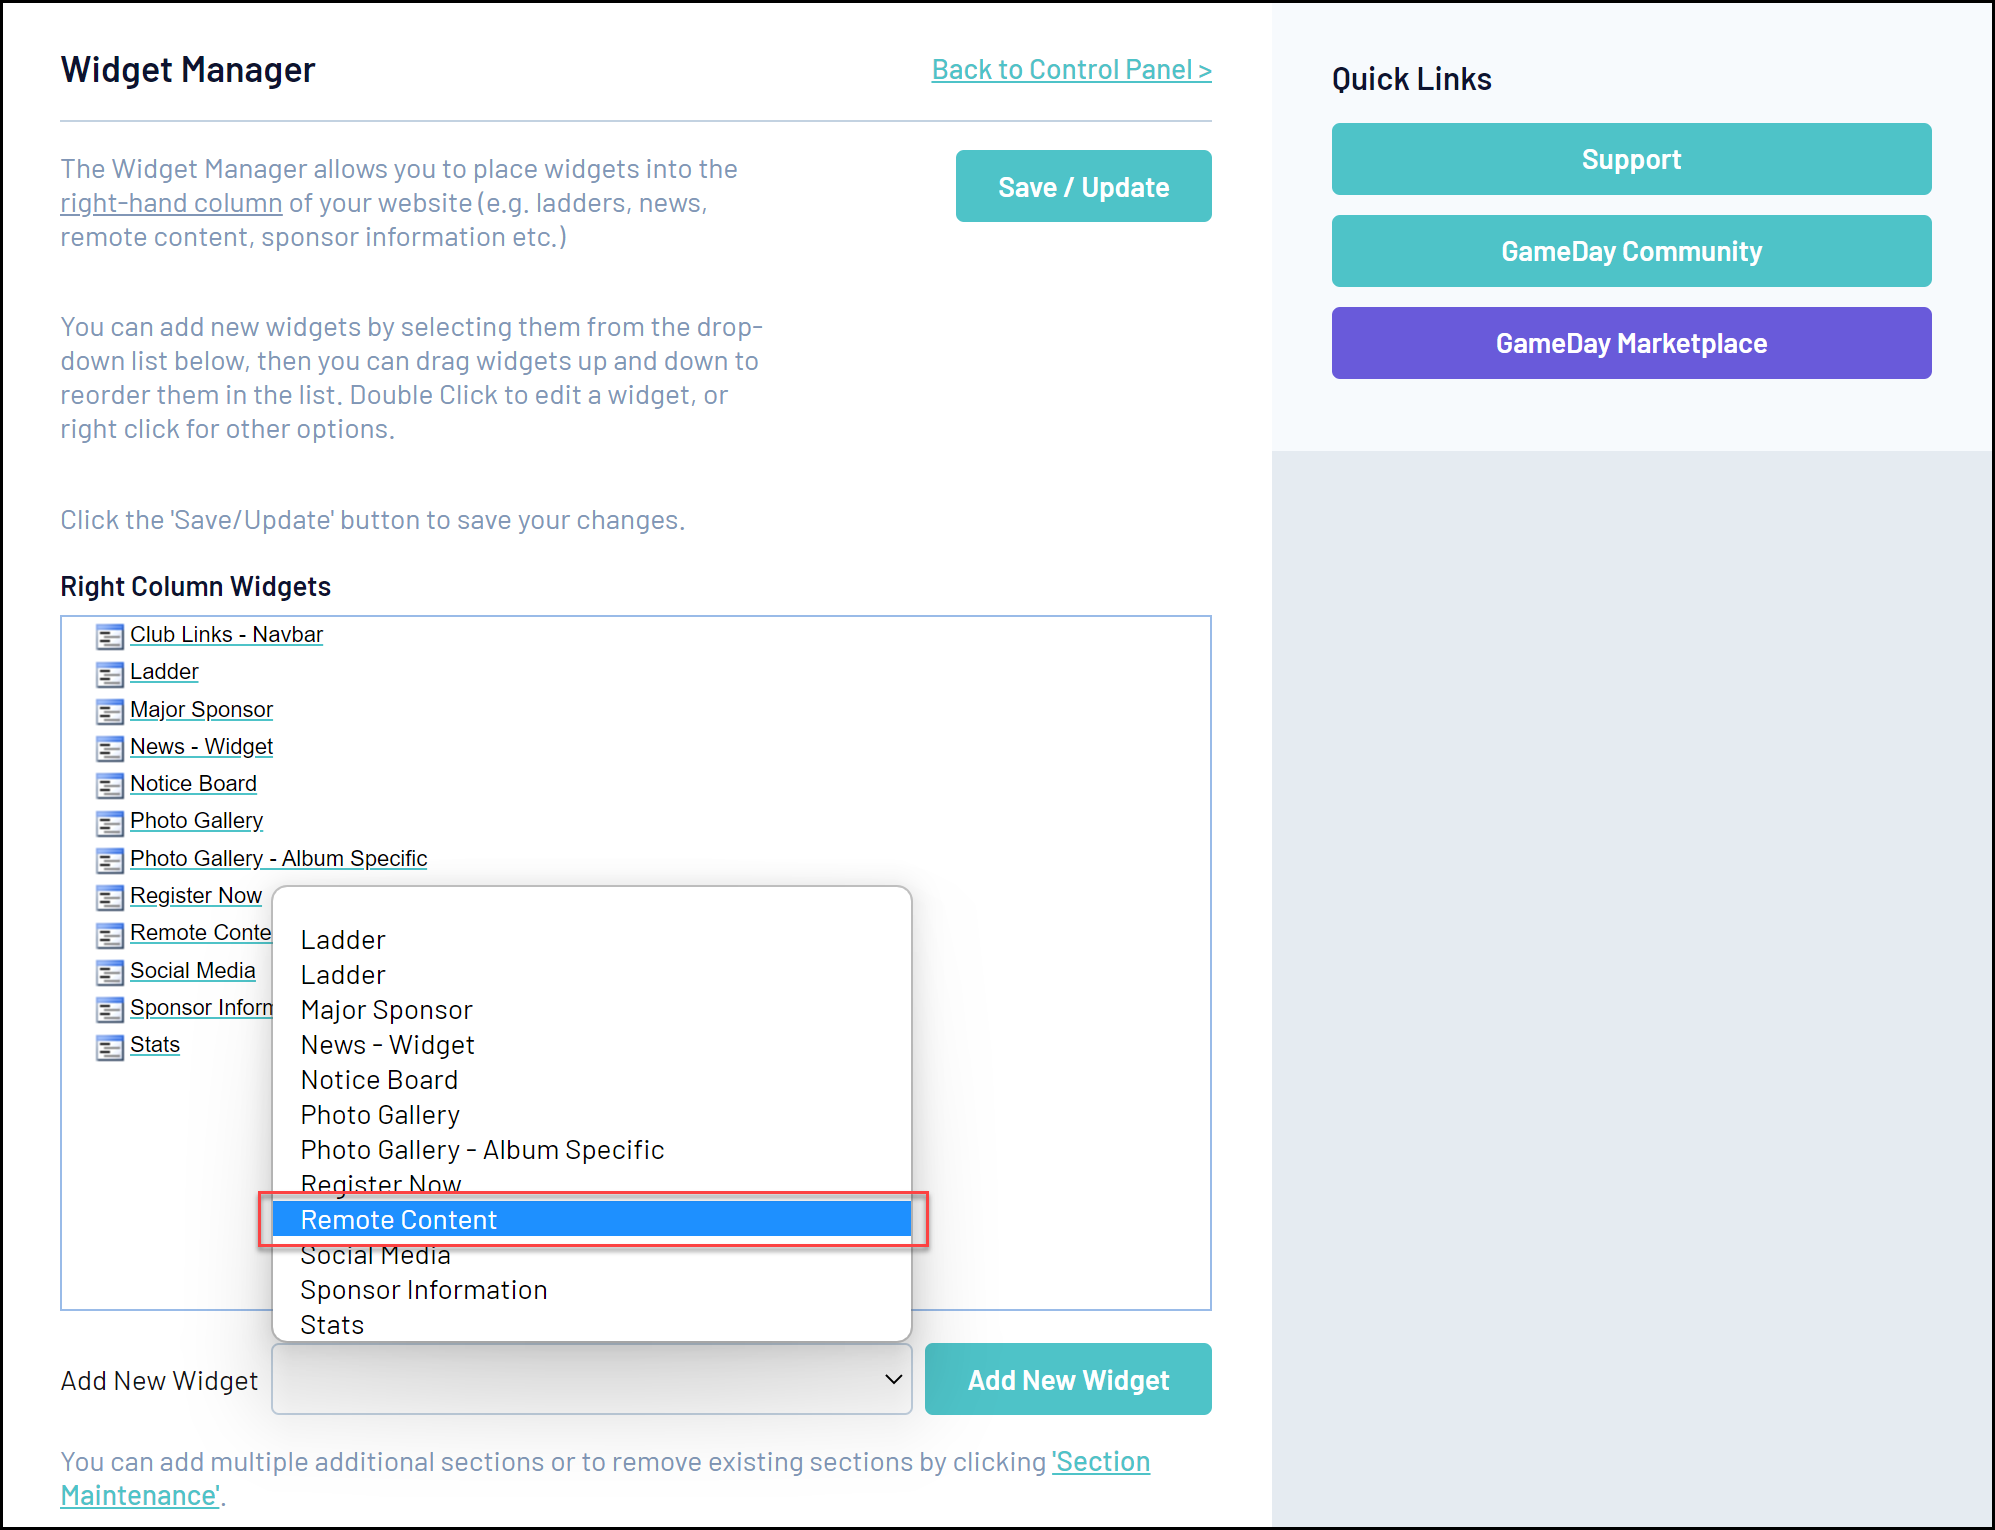
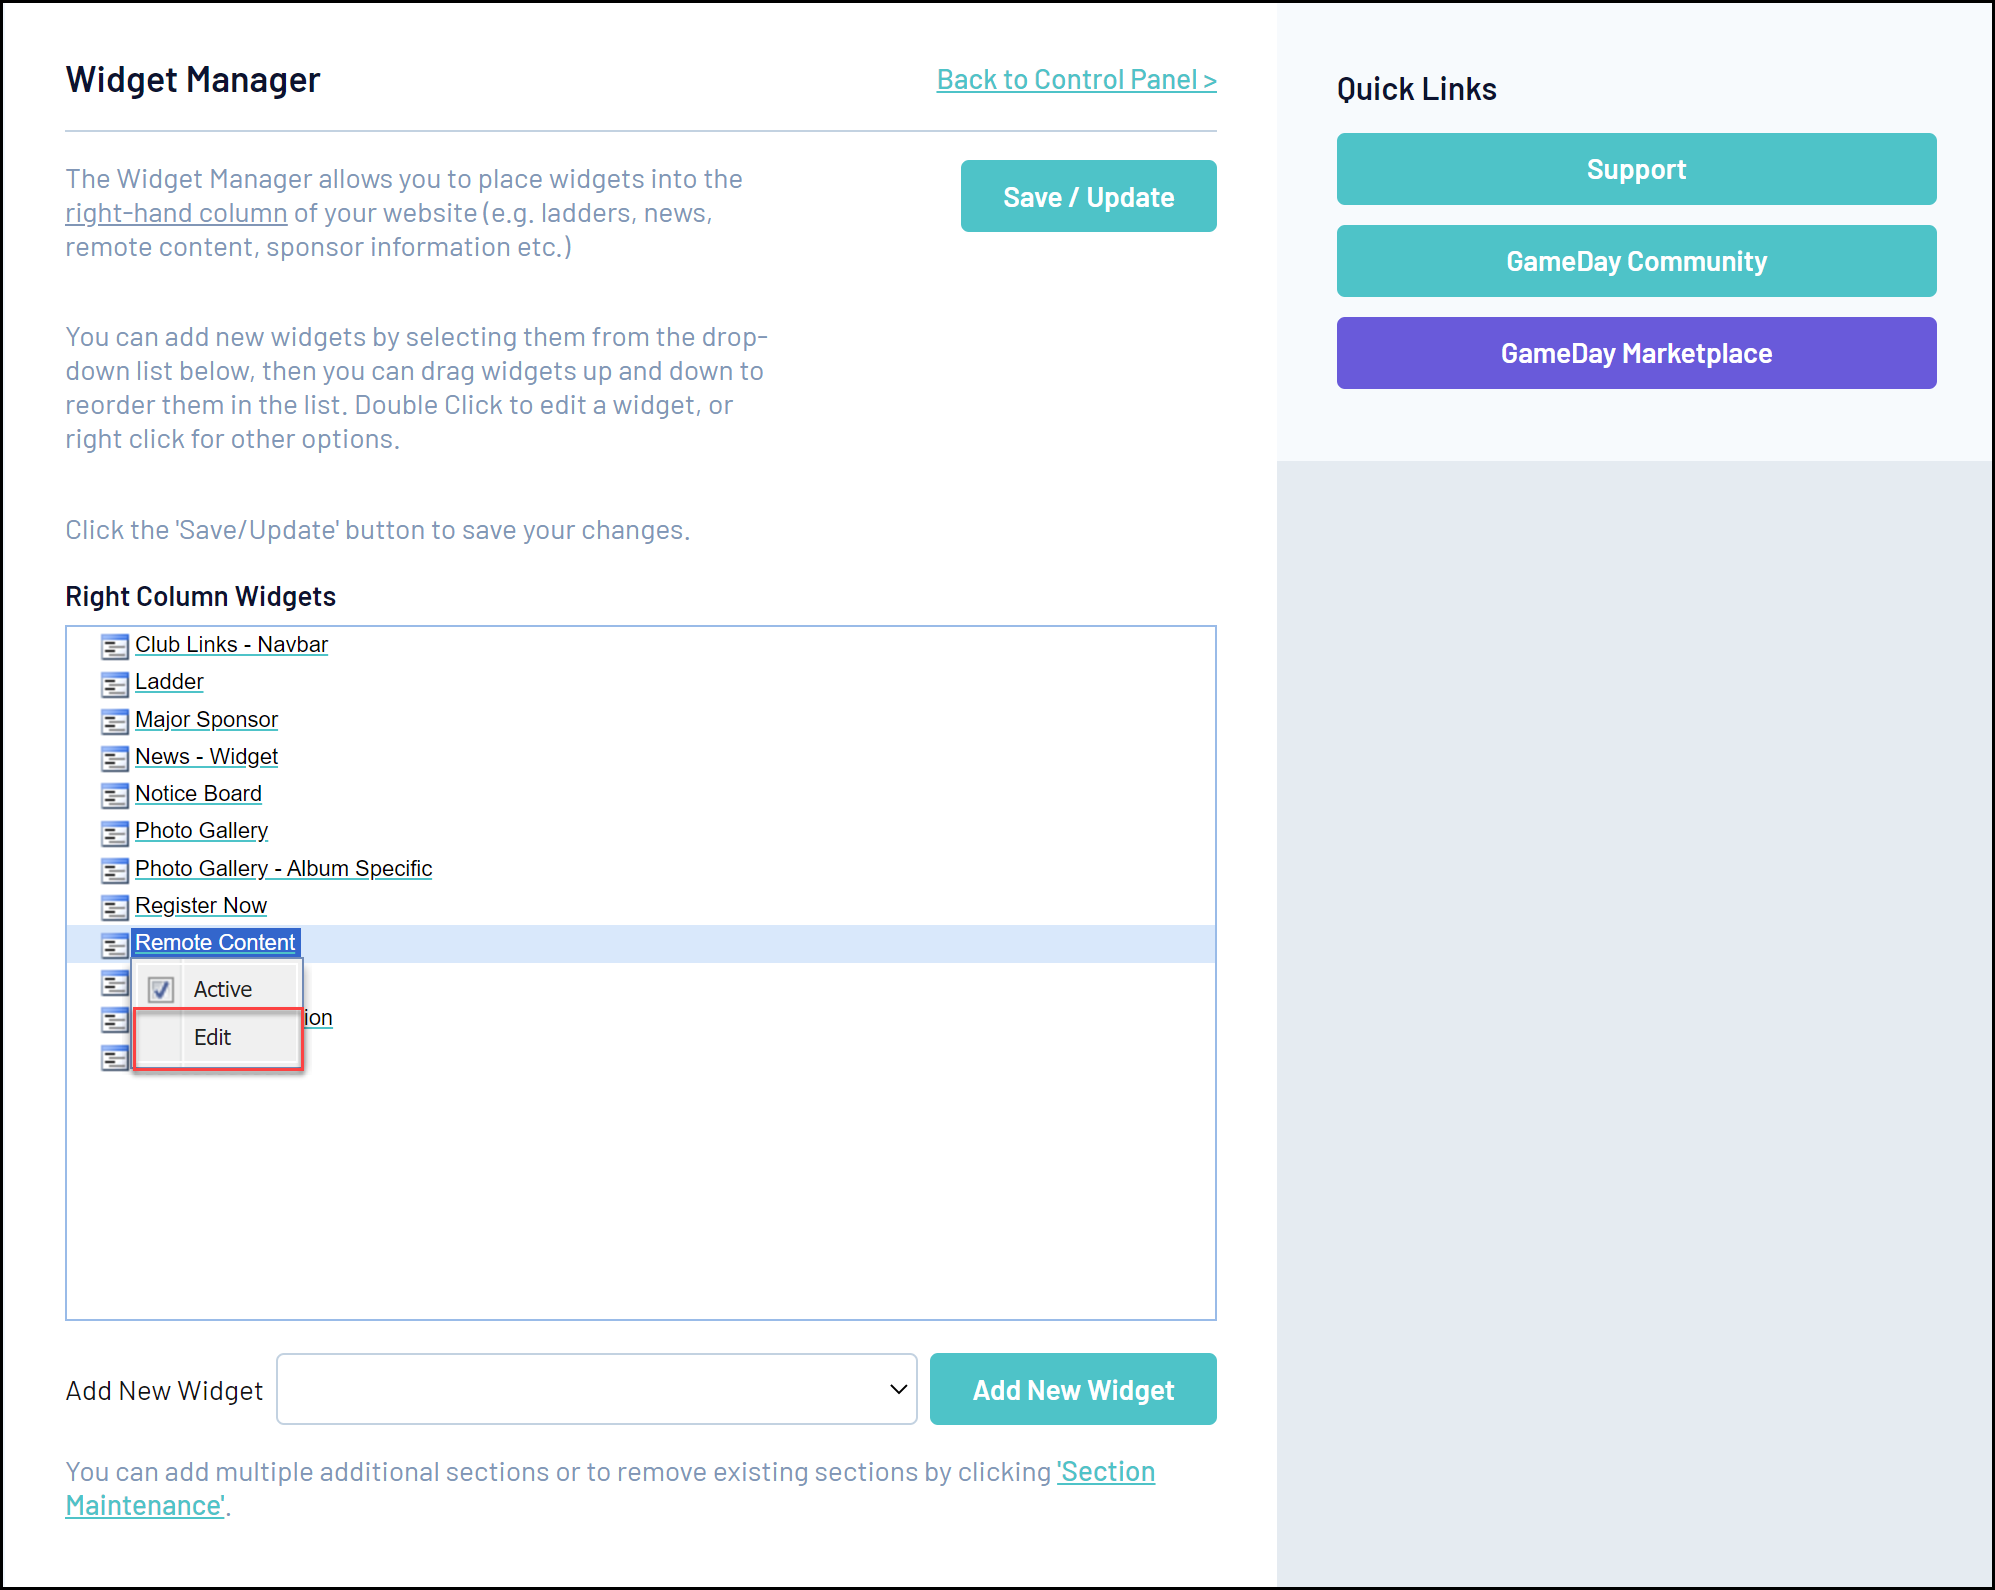
1. Click on the Add New Widget drop down list, select Remote Content, and click on Add New Section.
2. Right-click on the Remote Content section and select Edit from the menu.
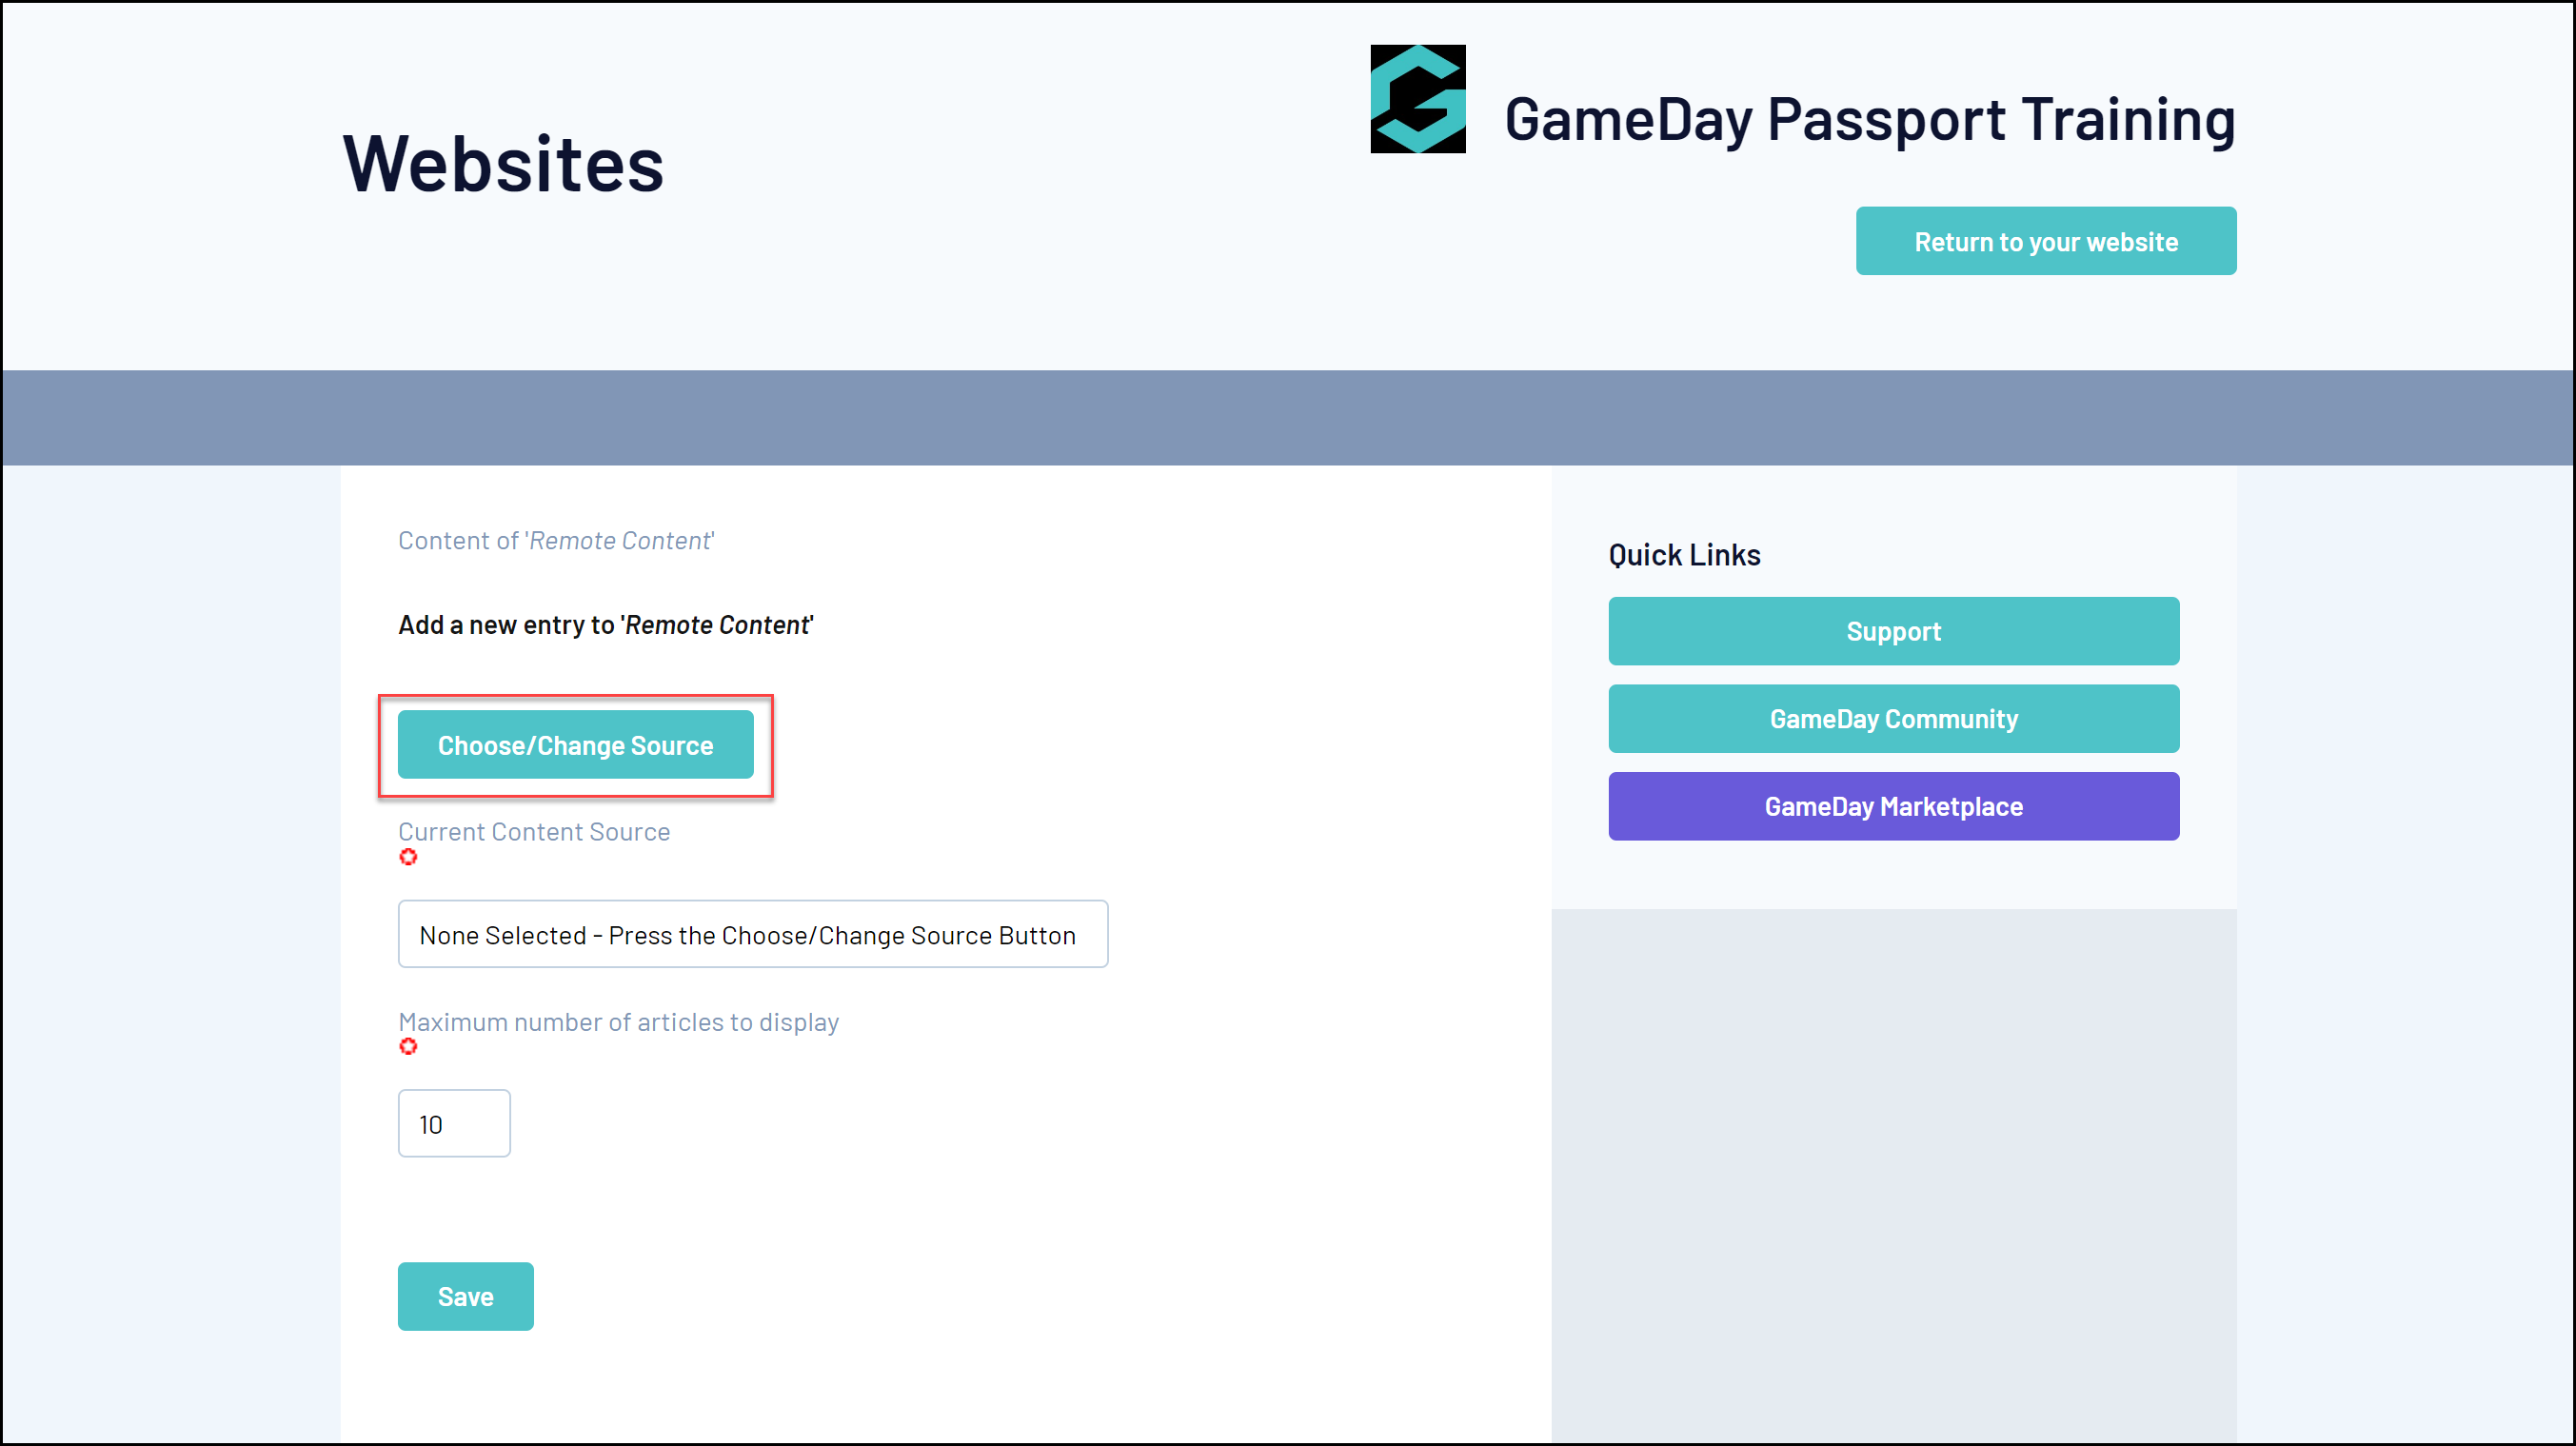
3. Click Choose/Change Source
4. The Search/Browse window will appear. This enables you to either (a) hit the Browse button to view all news feeds available or (b) enter a search term (eg. type in ‘AFL‘ to search for all news feeds with ‘AFL' in the title) and click on Search.
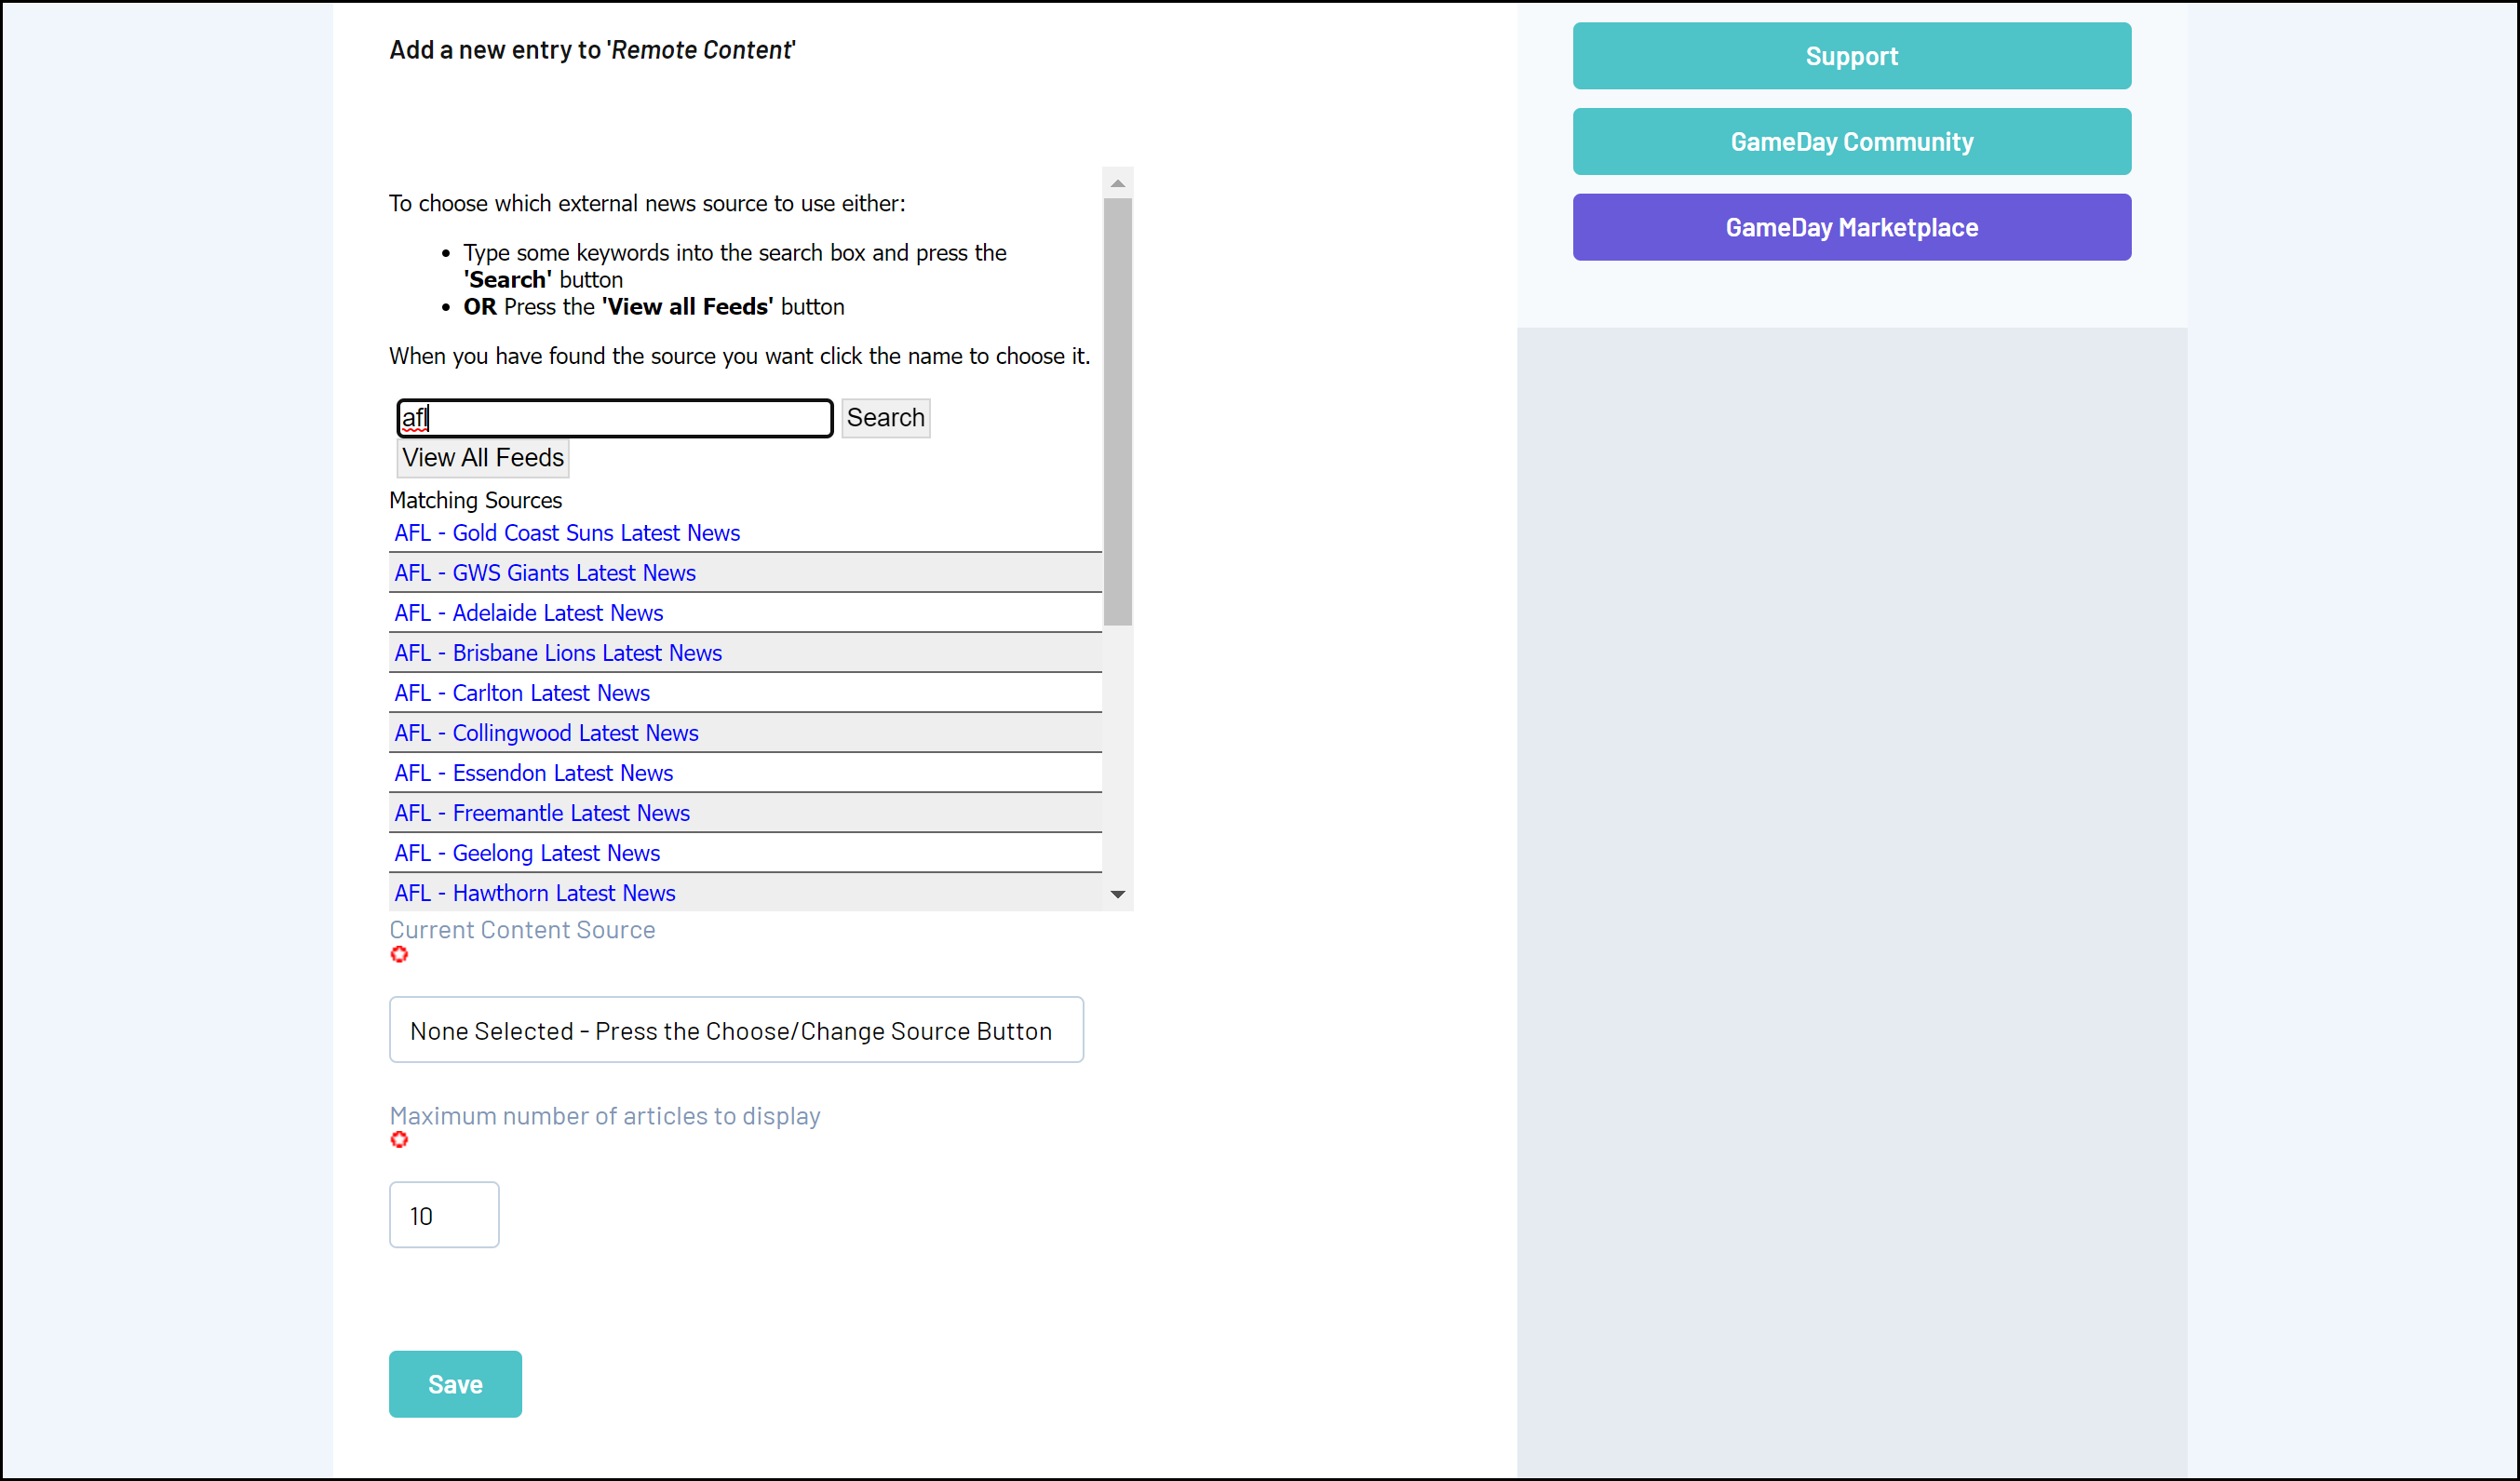
- If you have submitted a search, it will return all results for that search.
- If you click on View All Feeds, it will show a list of all Remote News Feed sources. Scroll through the list to find the news feed you wish to use.
Click the name of the remote news feed to select it.
5. A confirmation screen will appear with the remote news feed you have chosen. Enter the maximum number of articles to display in the right hand column (compulsory) and click on Save.
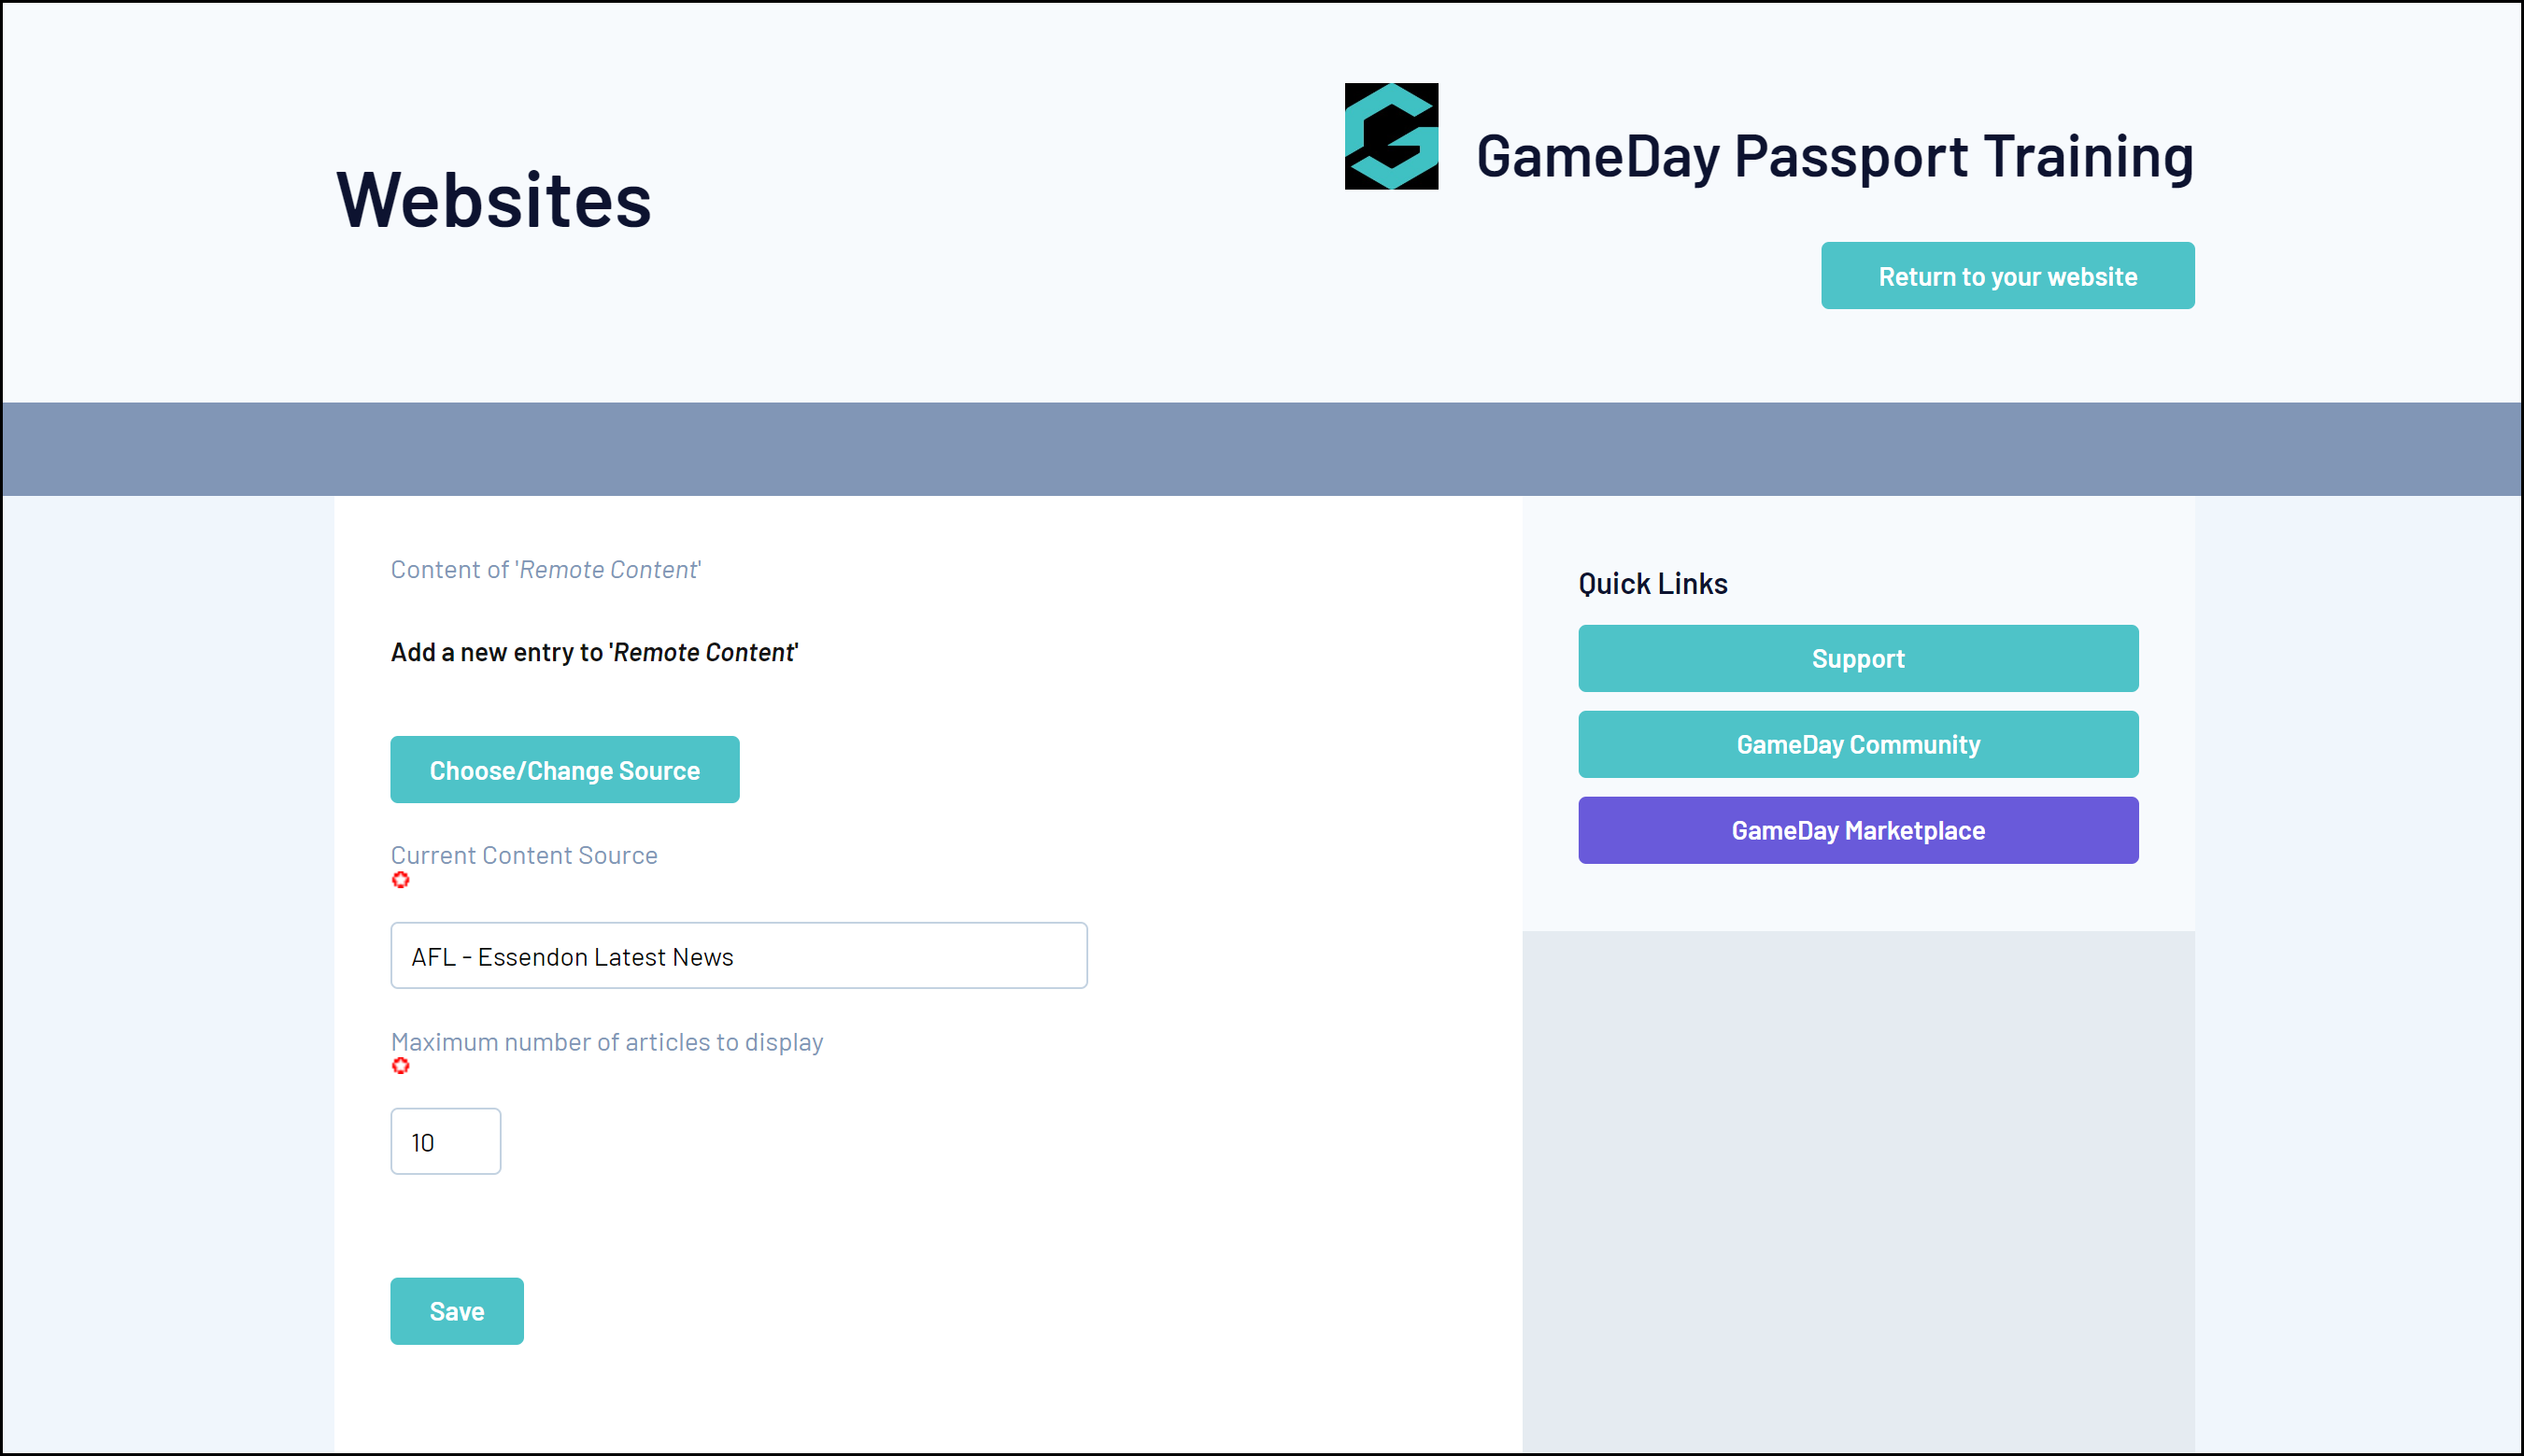
You can return to the Remote News Feed at any time and change the news source by clicking on the Choose/Change Source button.
Your Remove Content feed with then display on the right-hand side of any widget-supported pages
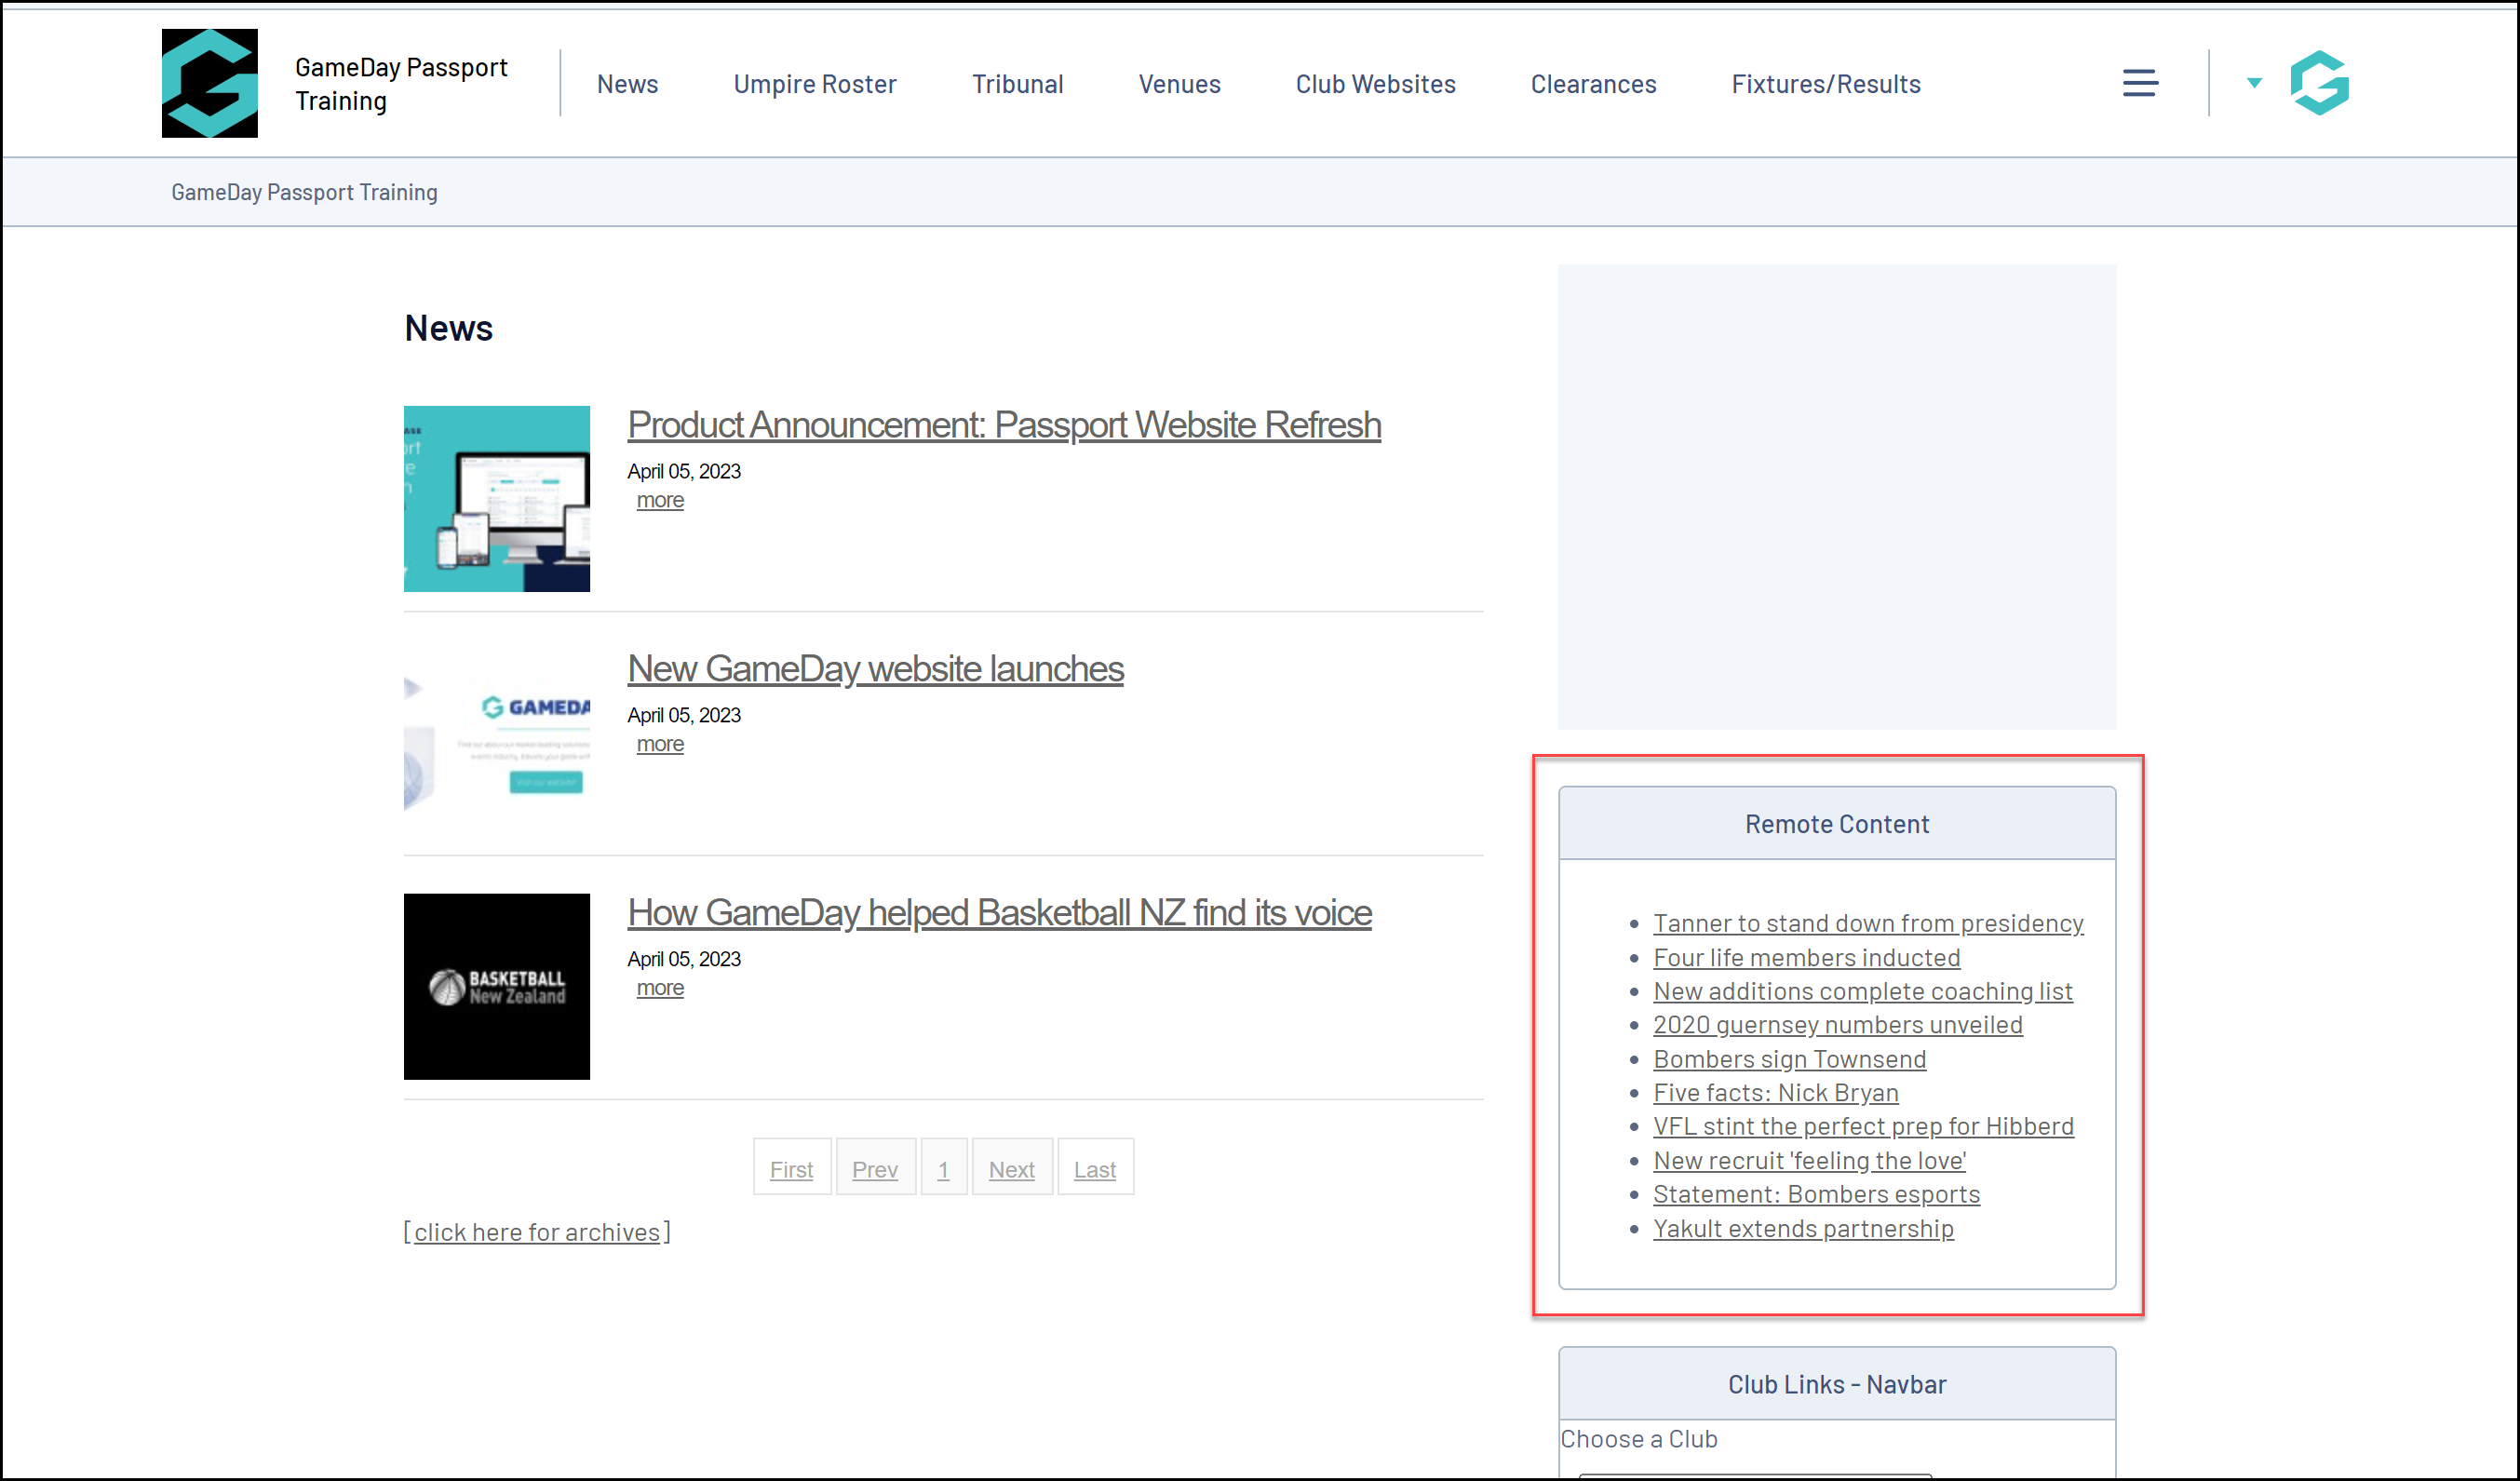
News
A news feed from your website‘s news section can be shown on the right side of the page. This is different from a Remote Content news feed, which brings in news from an external website.
To add a News widget from the Widget Manager:
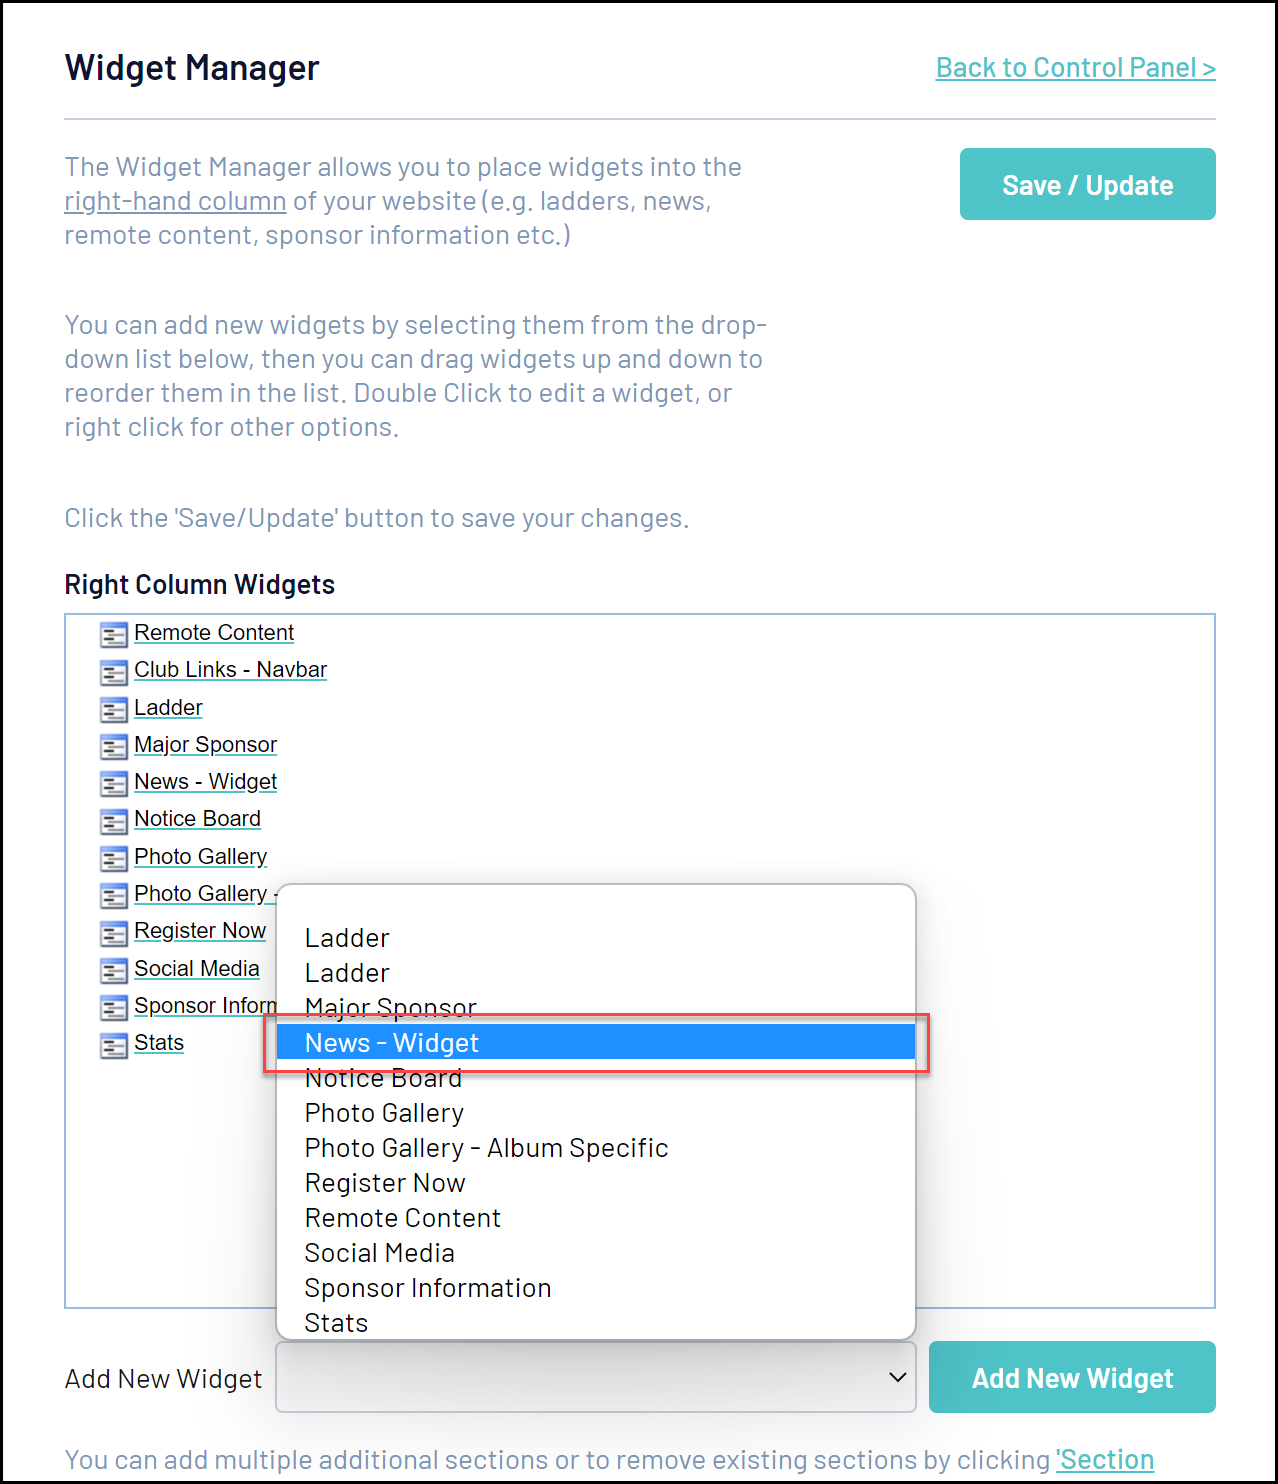
1. Click Add A New Widget, then select NEWS - WIDGET
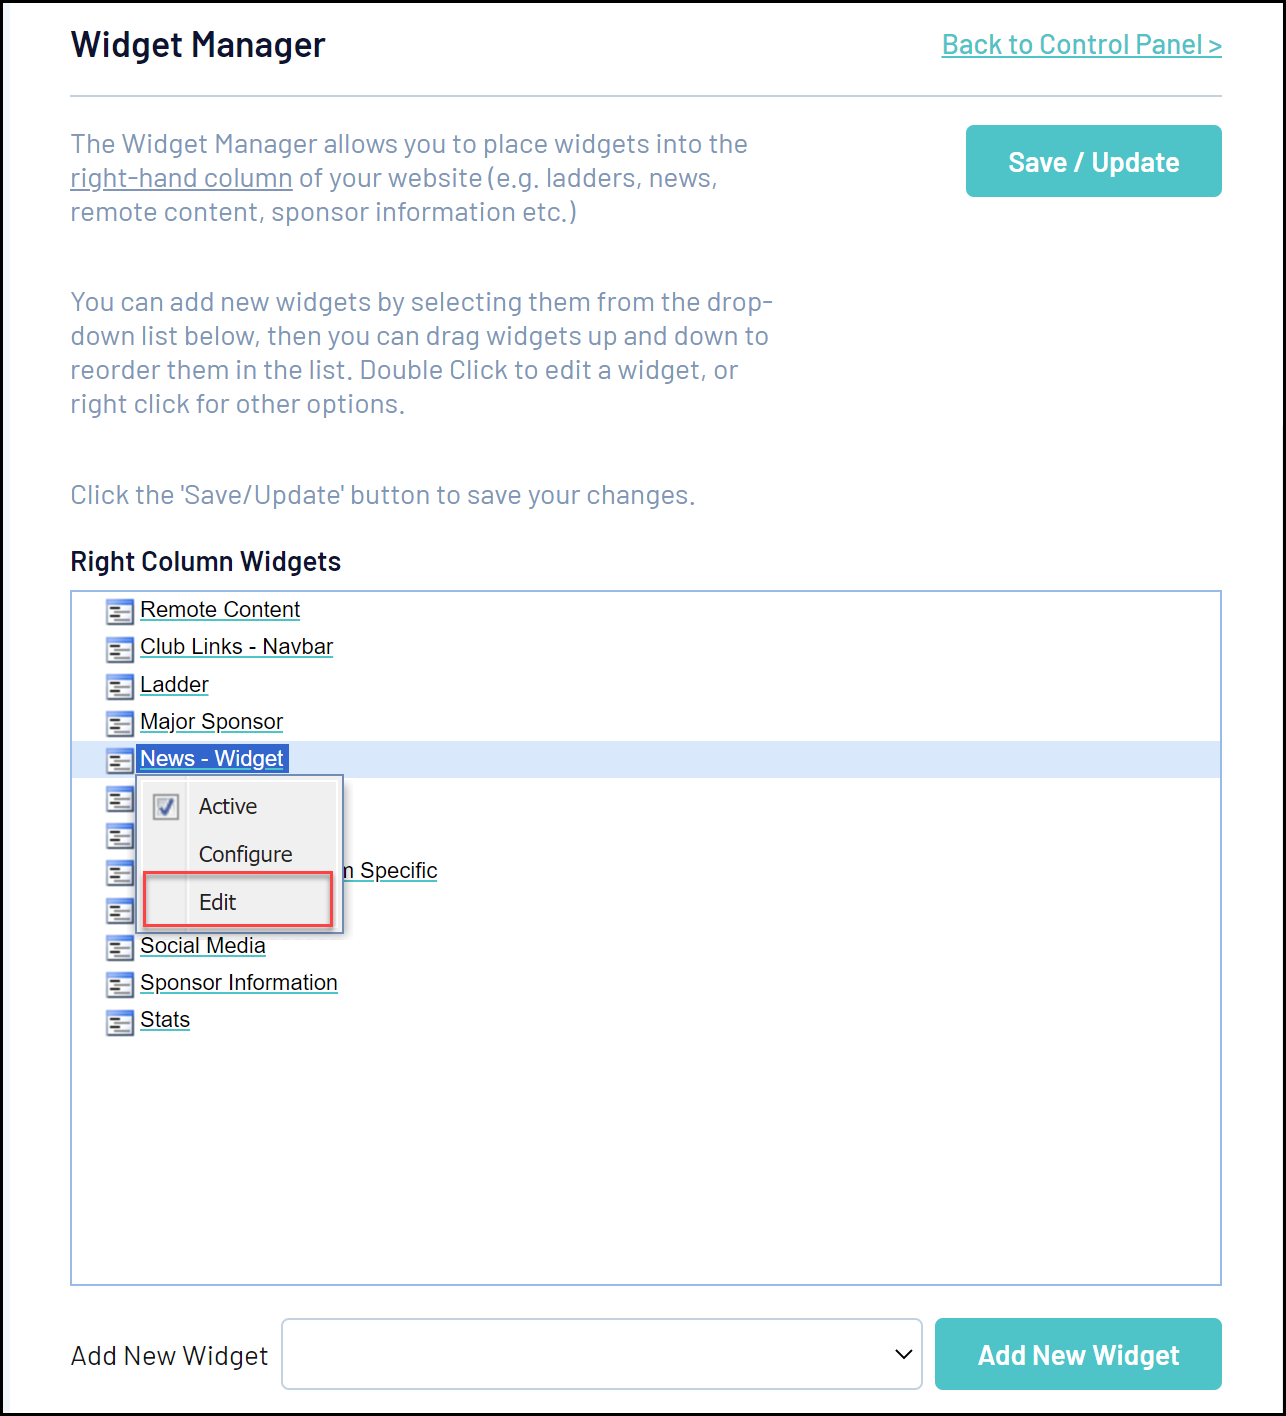
2. Right-click on the News - Widget option and select EDIT
3. There are two options on the Edit screen – (1) select the News section to feed from, and (2) set the maximum number of articles to display. Set your preferences and click SAVE

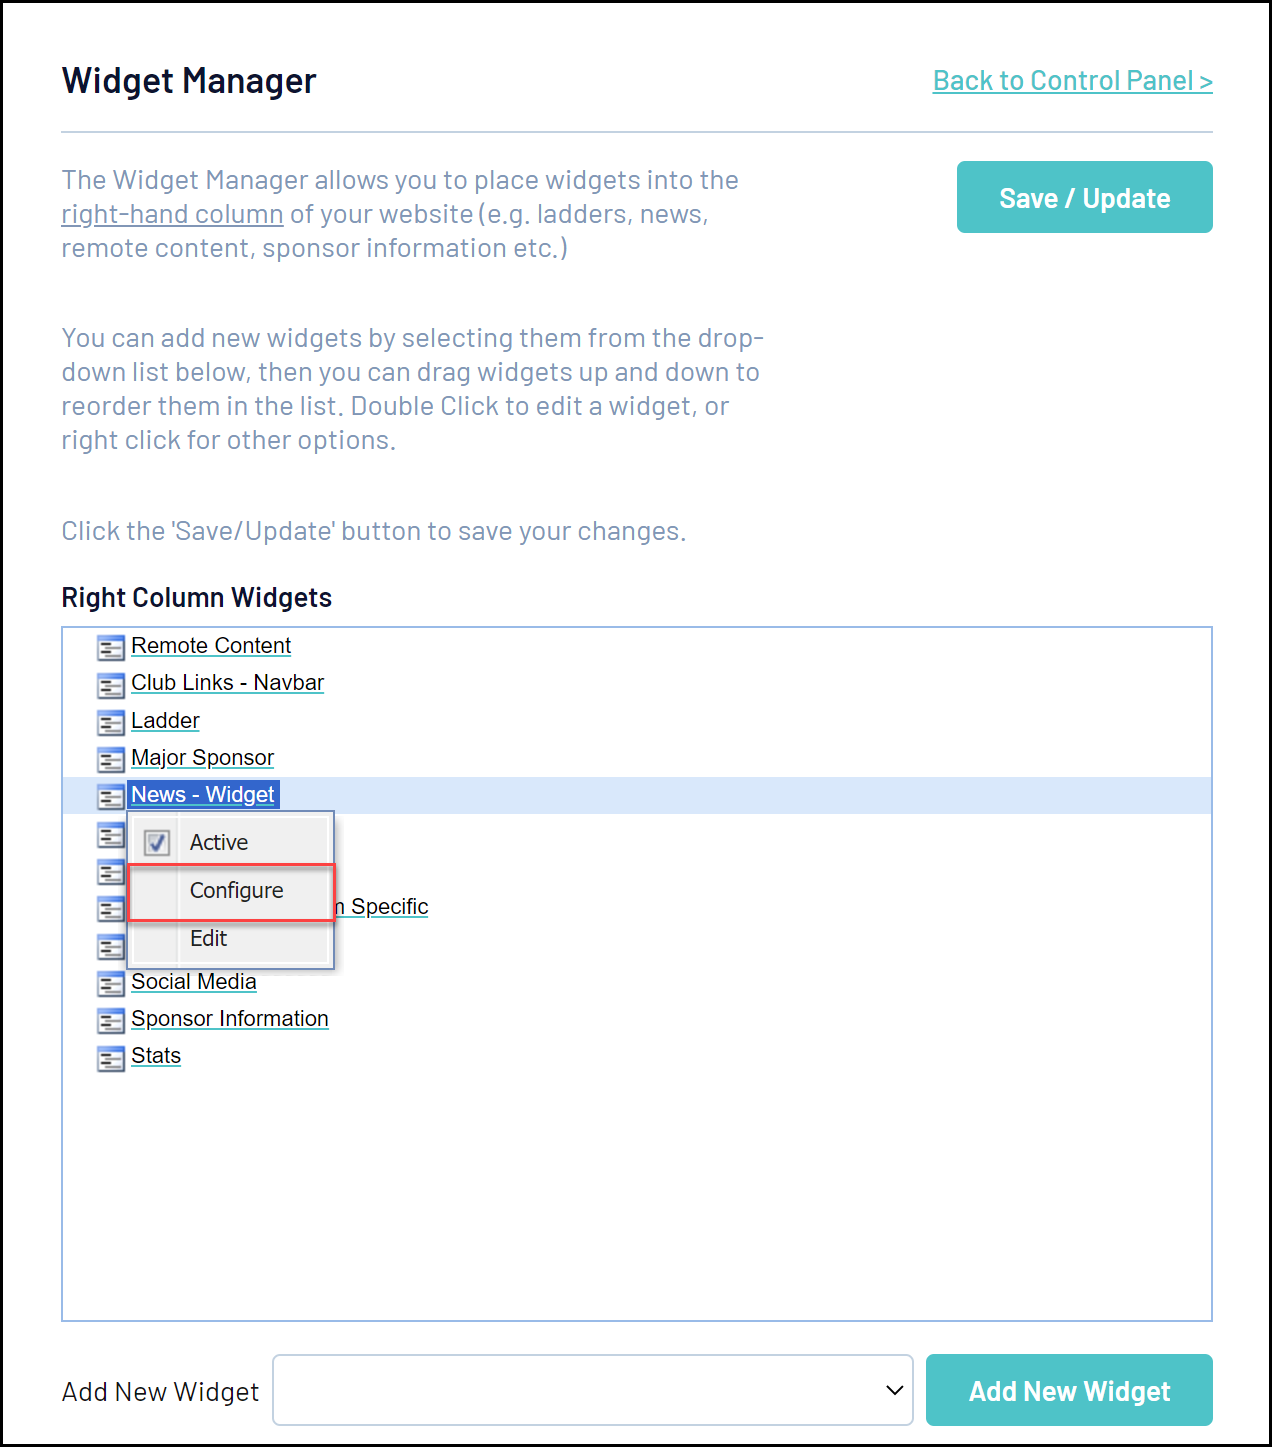
4. Return to the Widget Manager, then right-click on the News - Widget section and this time select CONFIGURE from the menu.
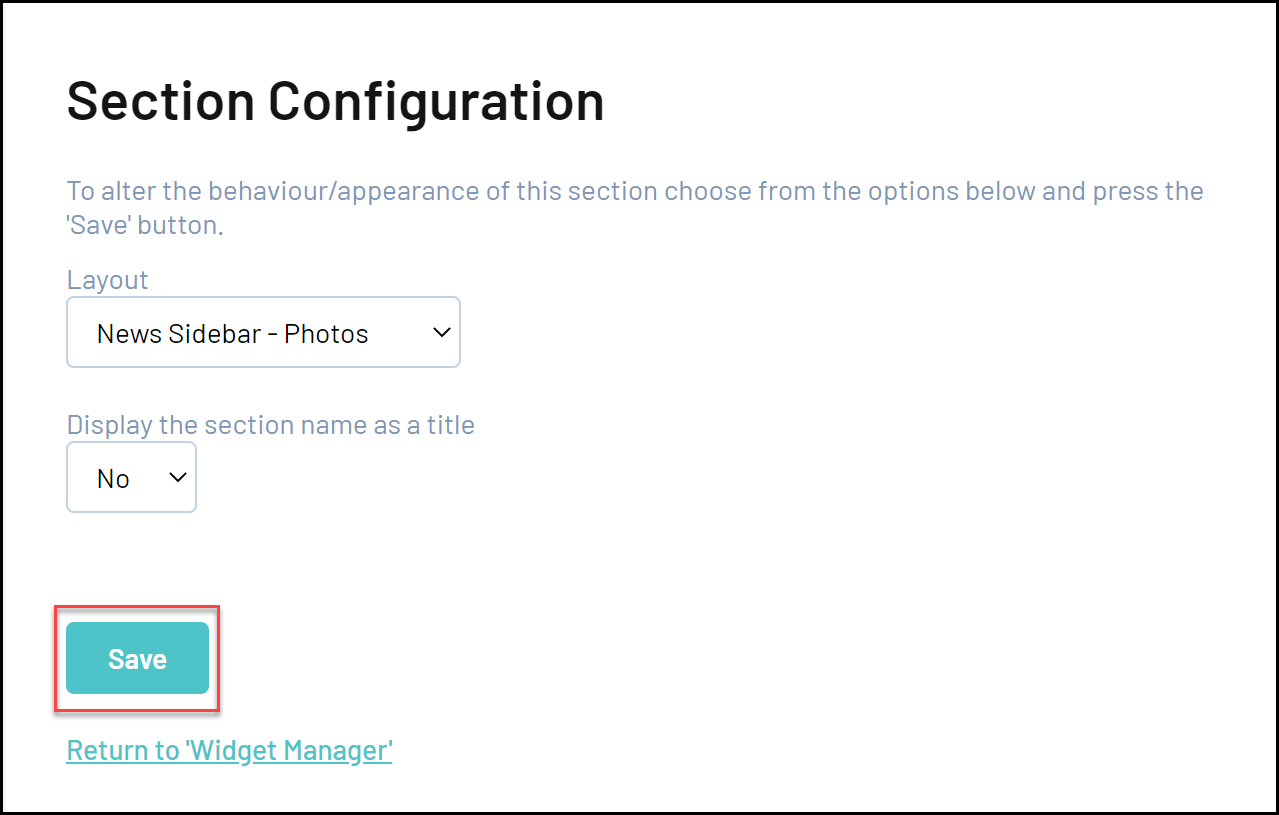
5. There are two options for how the News Feed appears in the right-hand column widget – (1) select between showing news headlines or photos, and (2) whether to show the section name (eg. Latest News) as the title for the news feed. Make these selections, the click SAVE
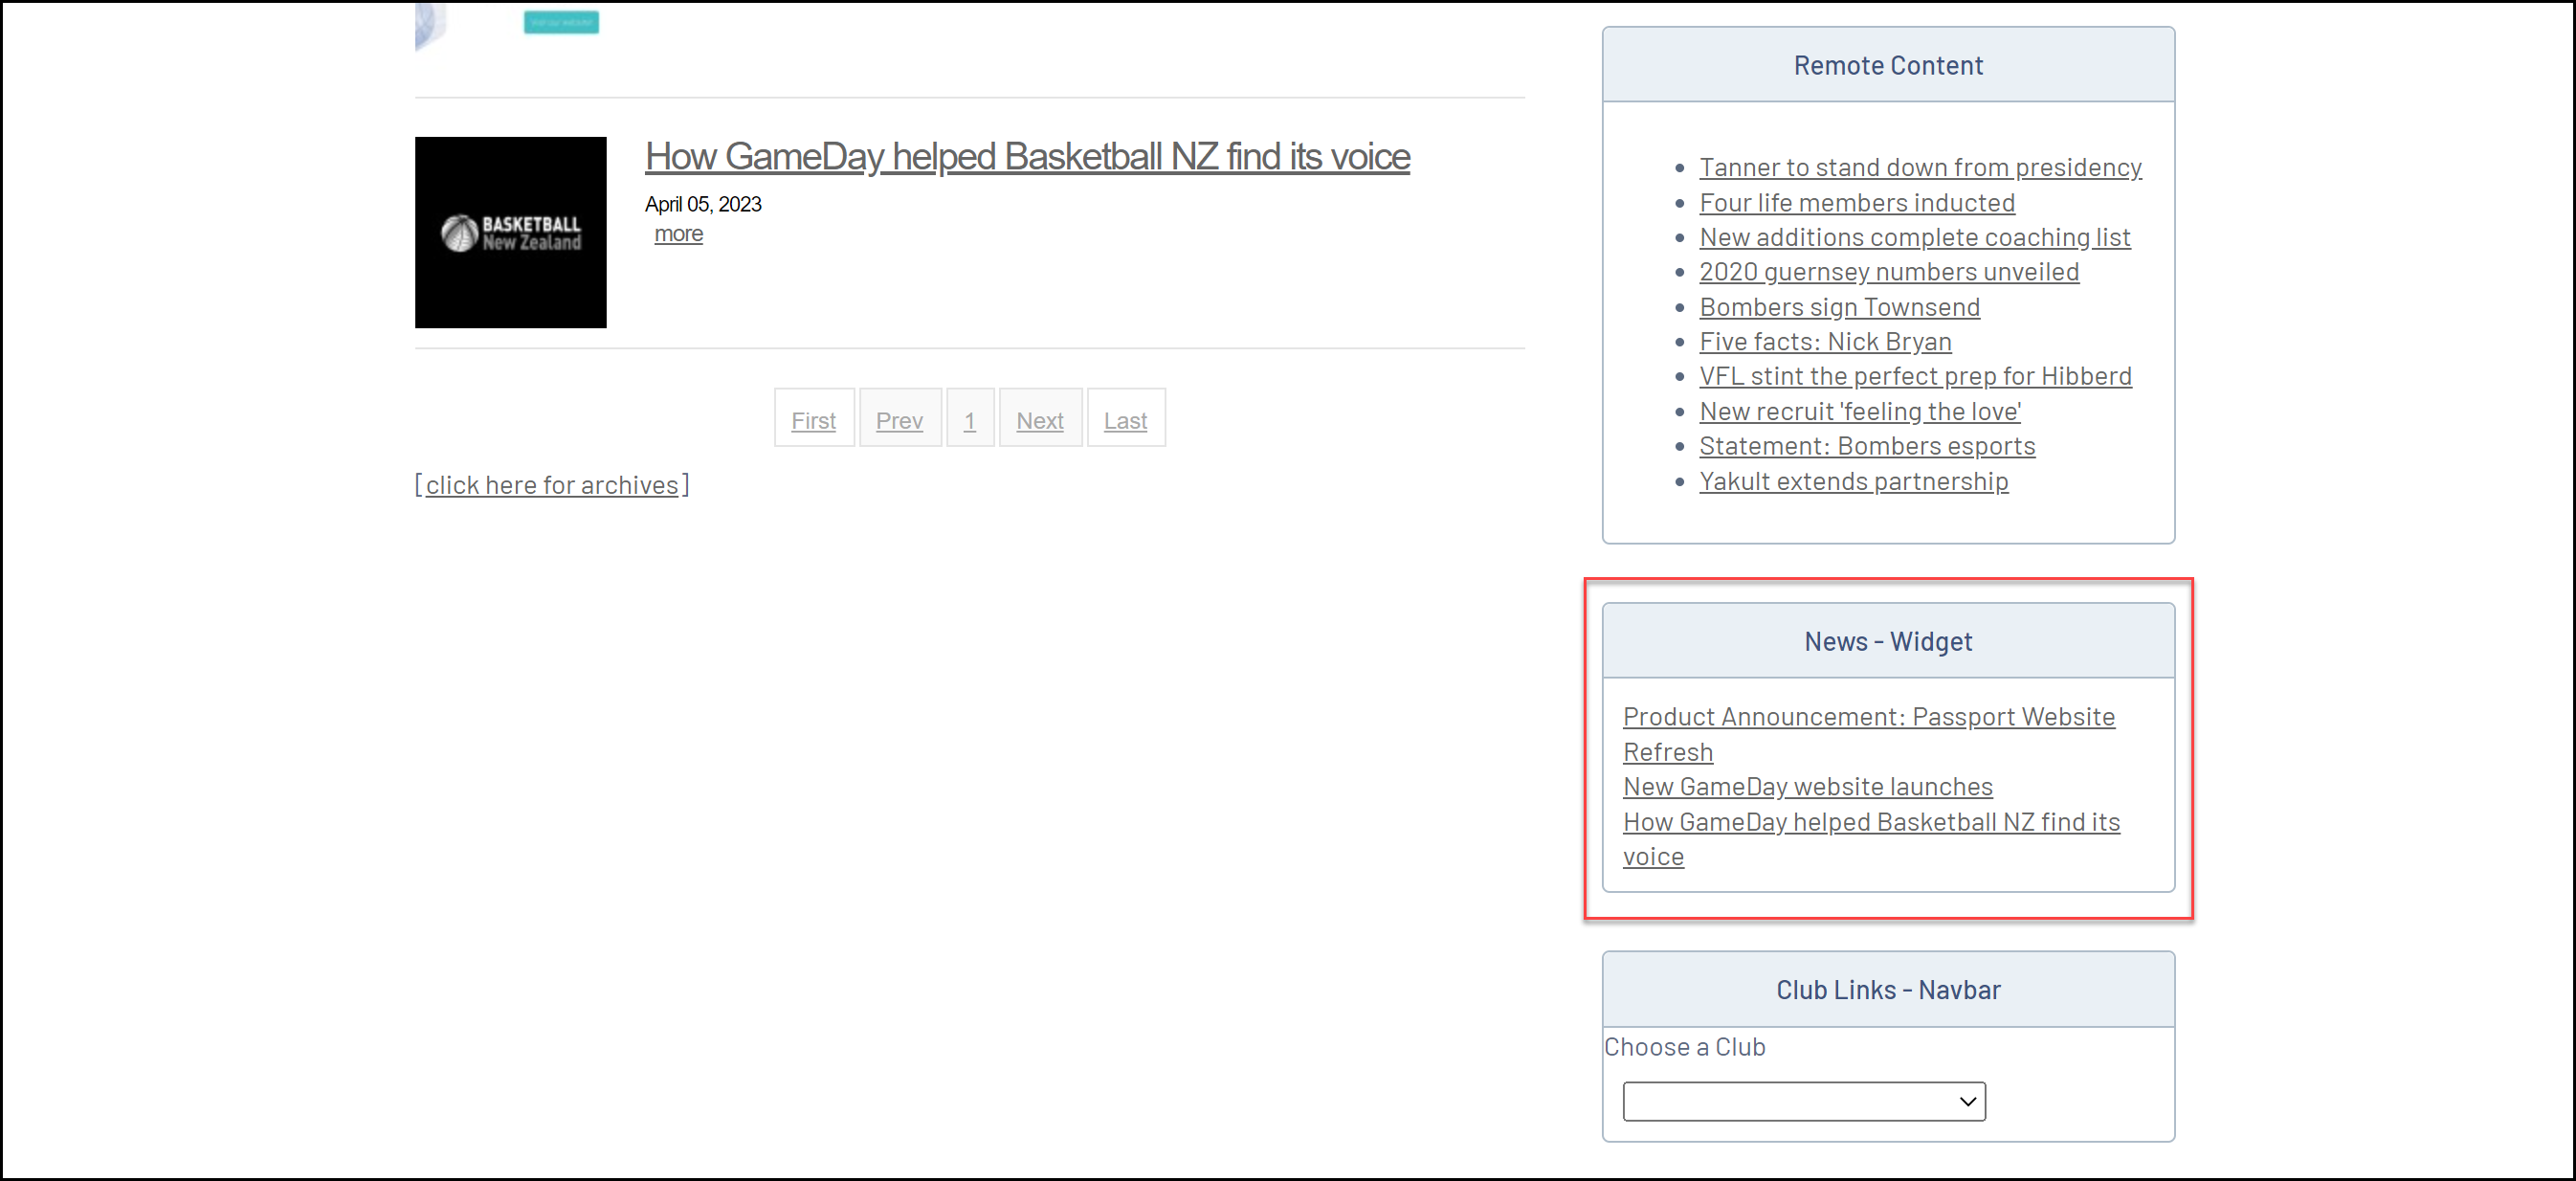
Your News widget will then display on the right-hand side of widget-supported pages:
Major Sponsor
This widget (as distinct from the Sponsor Information widget) can display information about your major sponsor, including their logo, title and description, and links to their websites.
To set up your Major Sponsor widget from the Widget Manager:
1. Click Add New Widget, then select MAJOR SPONSOR

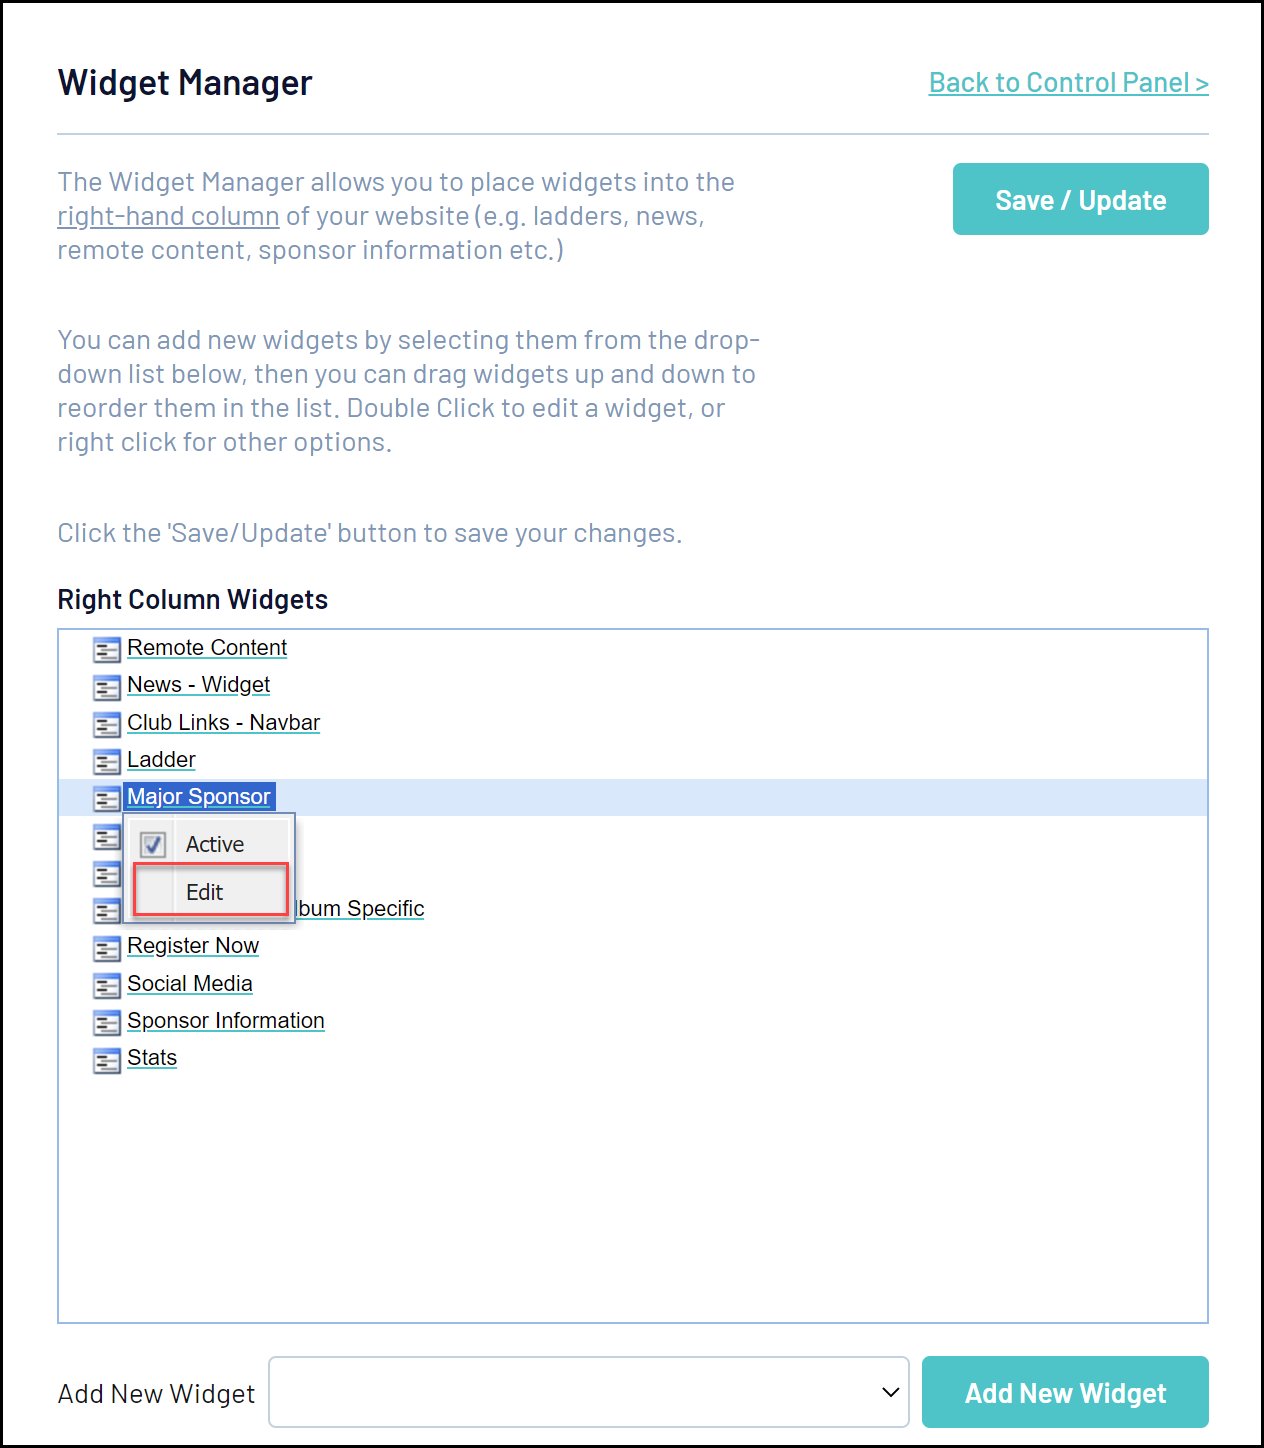
2. Right-click on the Major Sponsor section and from the menu select EDIT
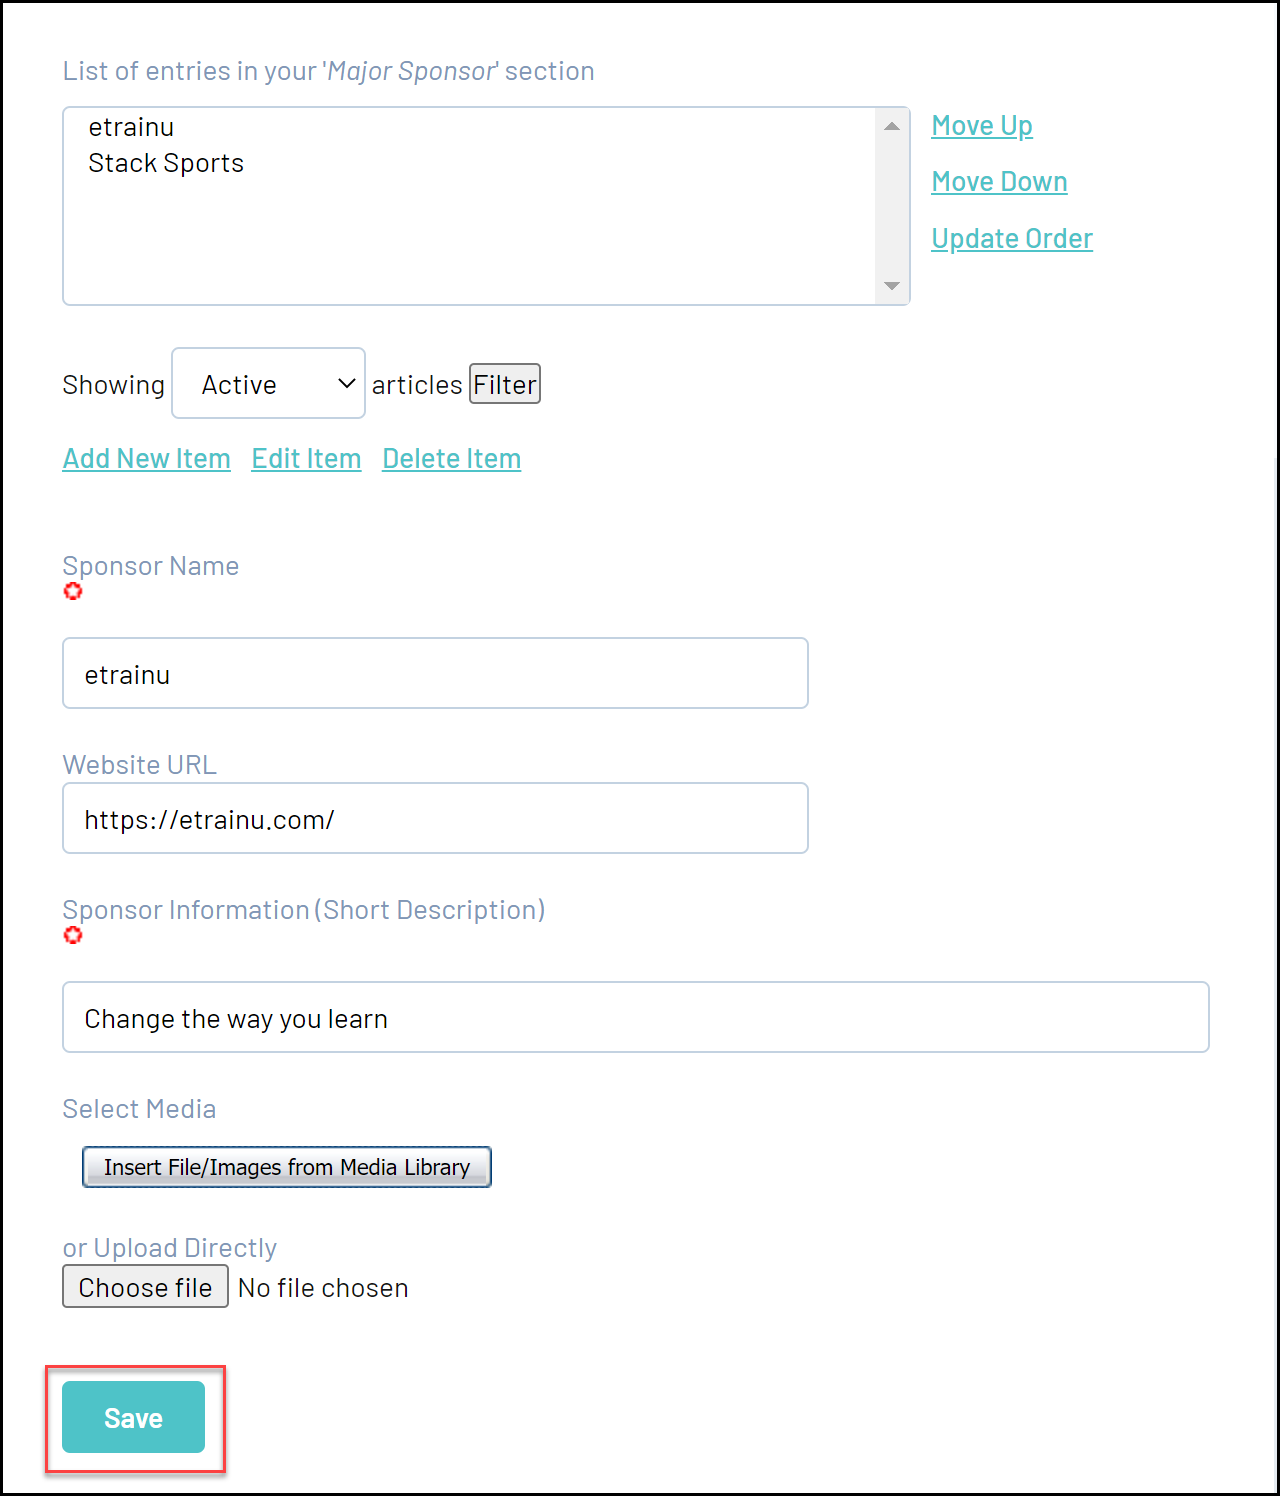
3. Enter the information relating to your sponsor, and click SAVE at the bottom
Your Major Sponsor widget will then display on the right-hand side of widget-supported pages:
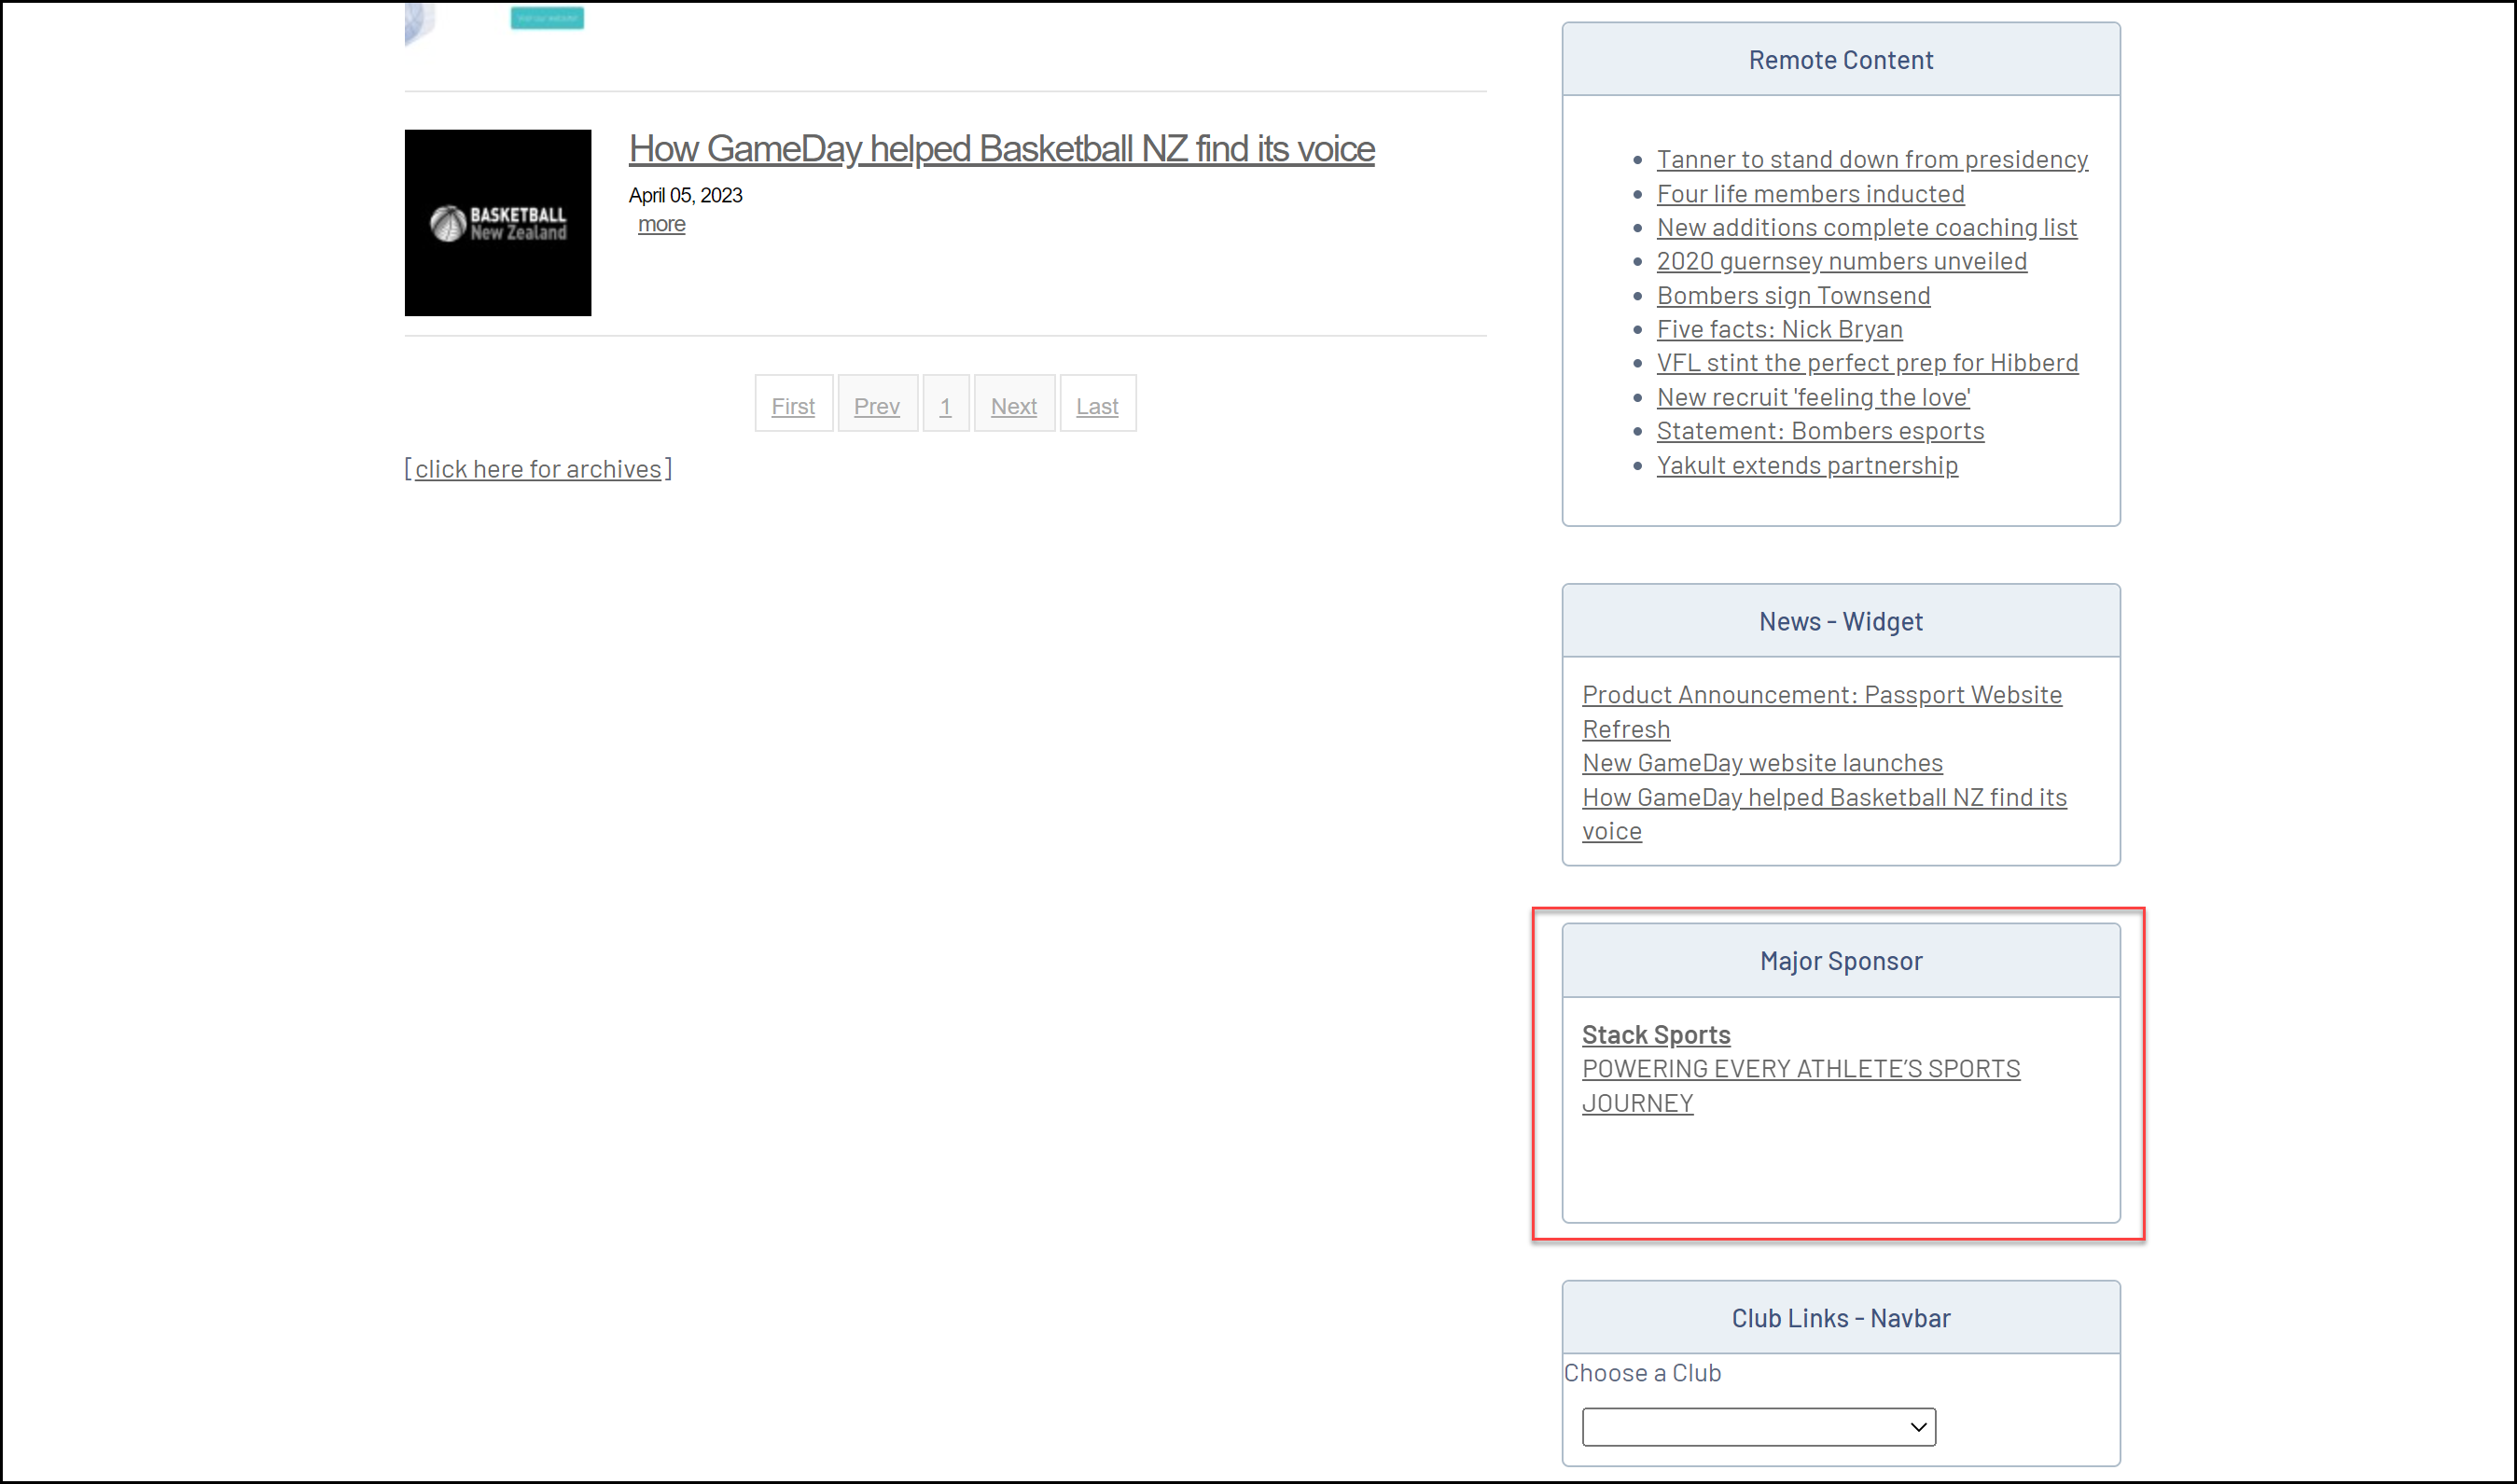
Note: This widget is not linked to the Sponsor Information section (in the Content Manager) or Sponsor Information widget in any way; these are separate sections that need to be maintained separately.
Social Media
Social Media Widget The Social Media widget allows you to add a link to your Facebook and Twitter pages, as well as displaying your latest Twitter news feed.
To set up your Social Media accounts to work with this widget:
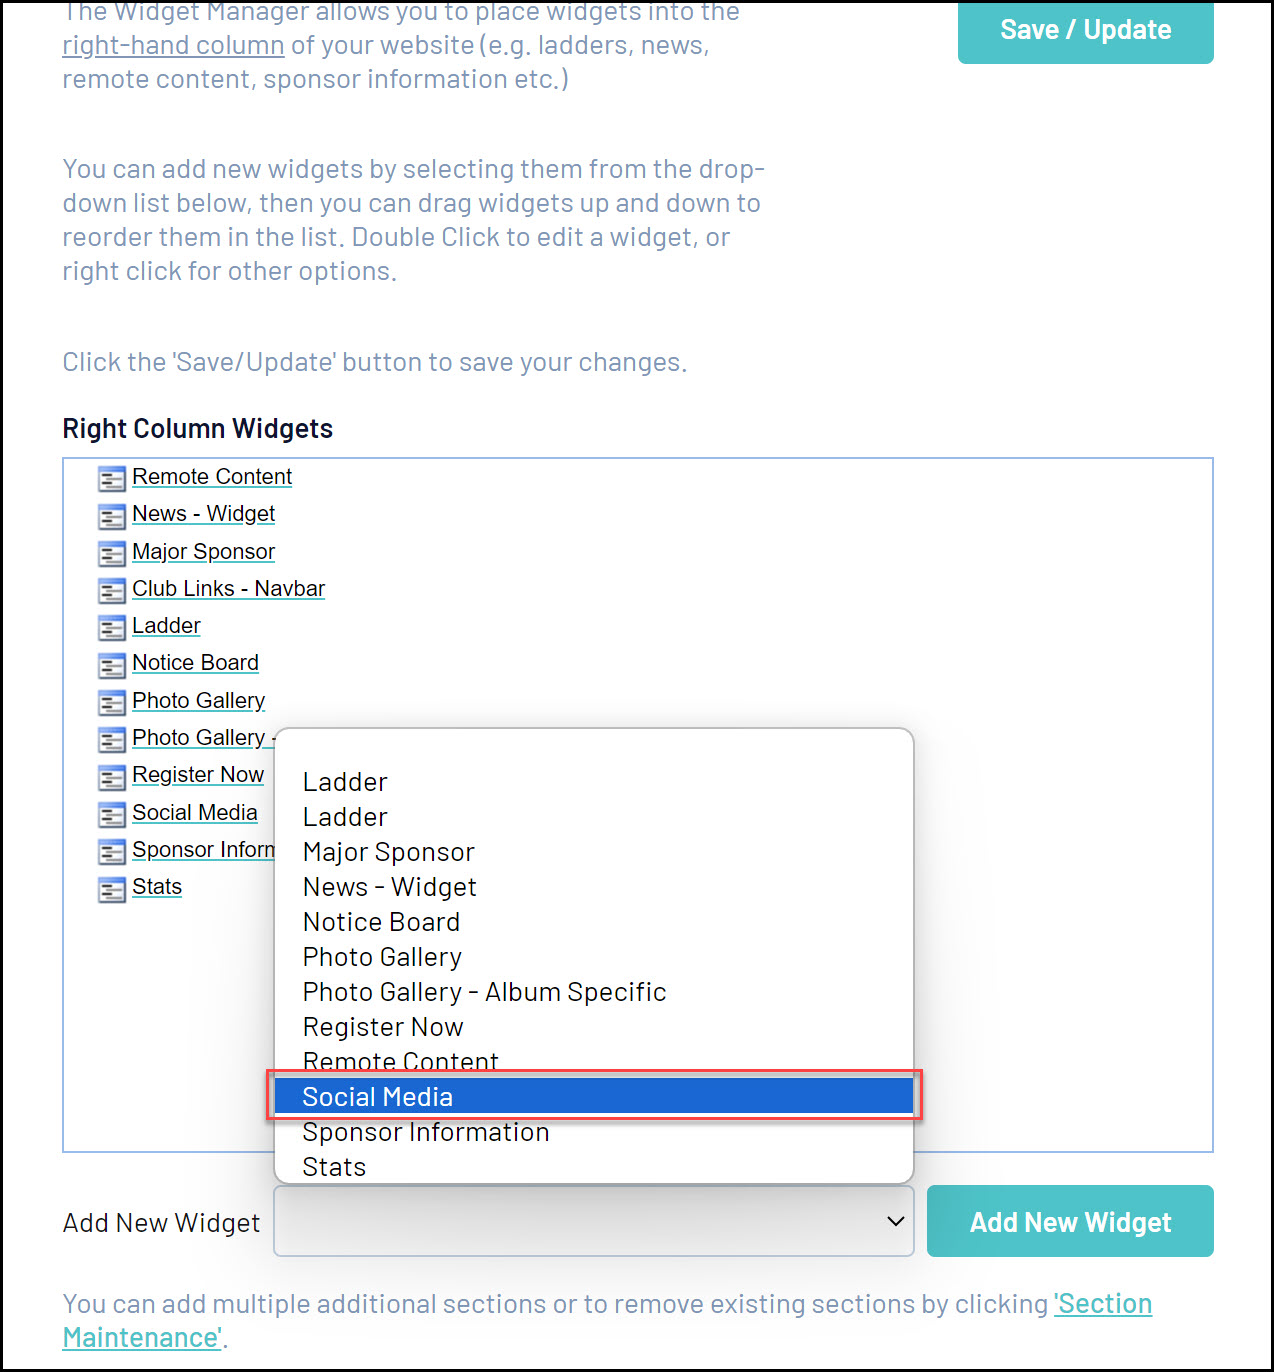
1. From the Website Editor Control Panel, click on Widget Manager.
2. Select Social Media from the Add New Widget drop down list and click on Add New Section.
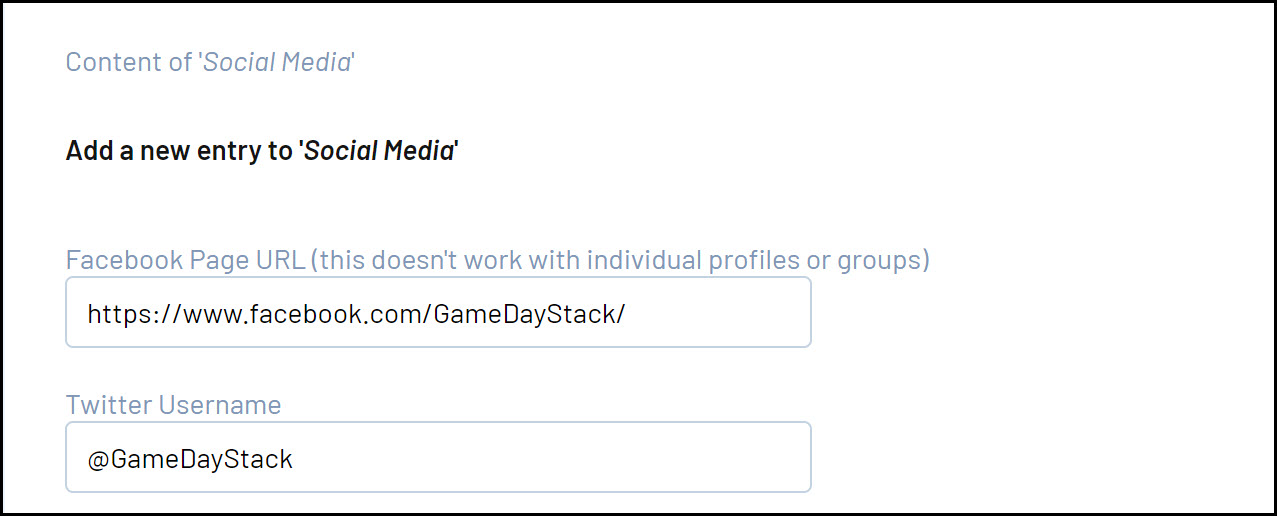
3. Right click on the Social Media section and from the menu select Edit.
4. From the Edit screen, enter in the information relating to your social media accounts